After all the hours and hours of body, work had been finished, we cut a t-molding slot on both sides which turned out perfect. The first coat of oil-based primer was applied which showed us any areas on the cabinet that needed a little more work. Once those areas were addressed, the primer was sanded down, and the second coat was applied. After drying, that last layer was sanded down as smooth as glass.
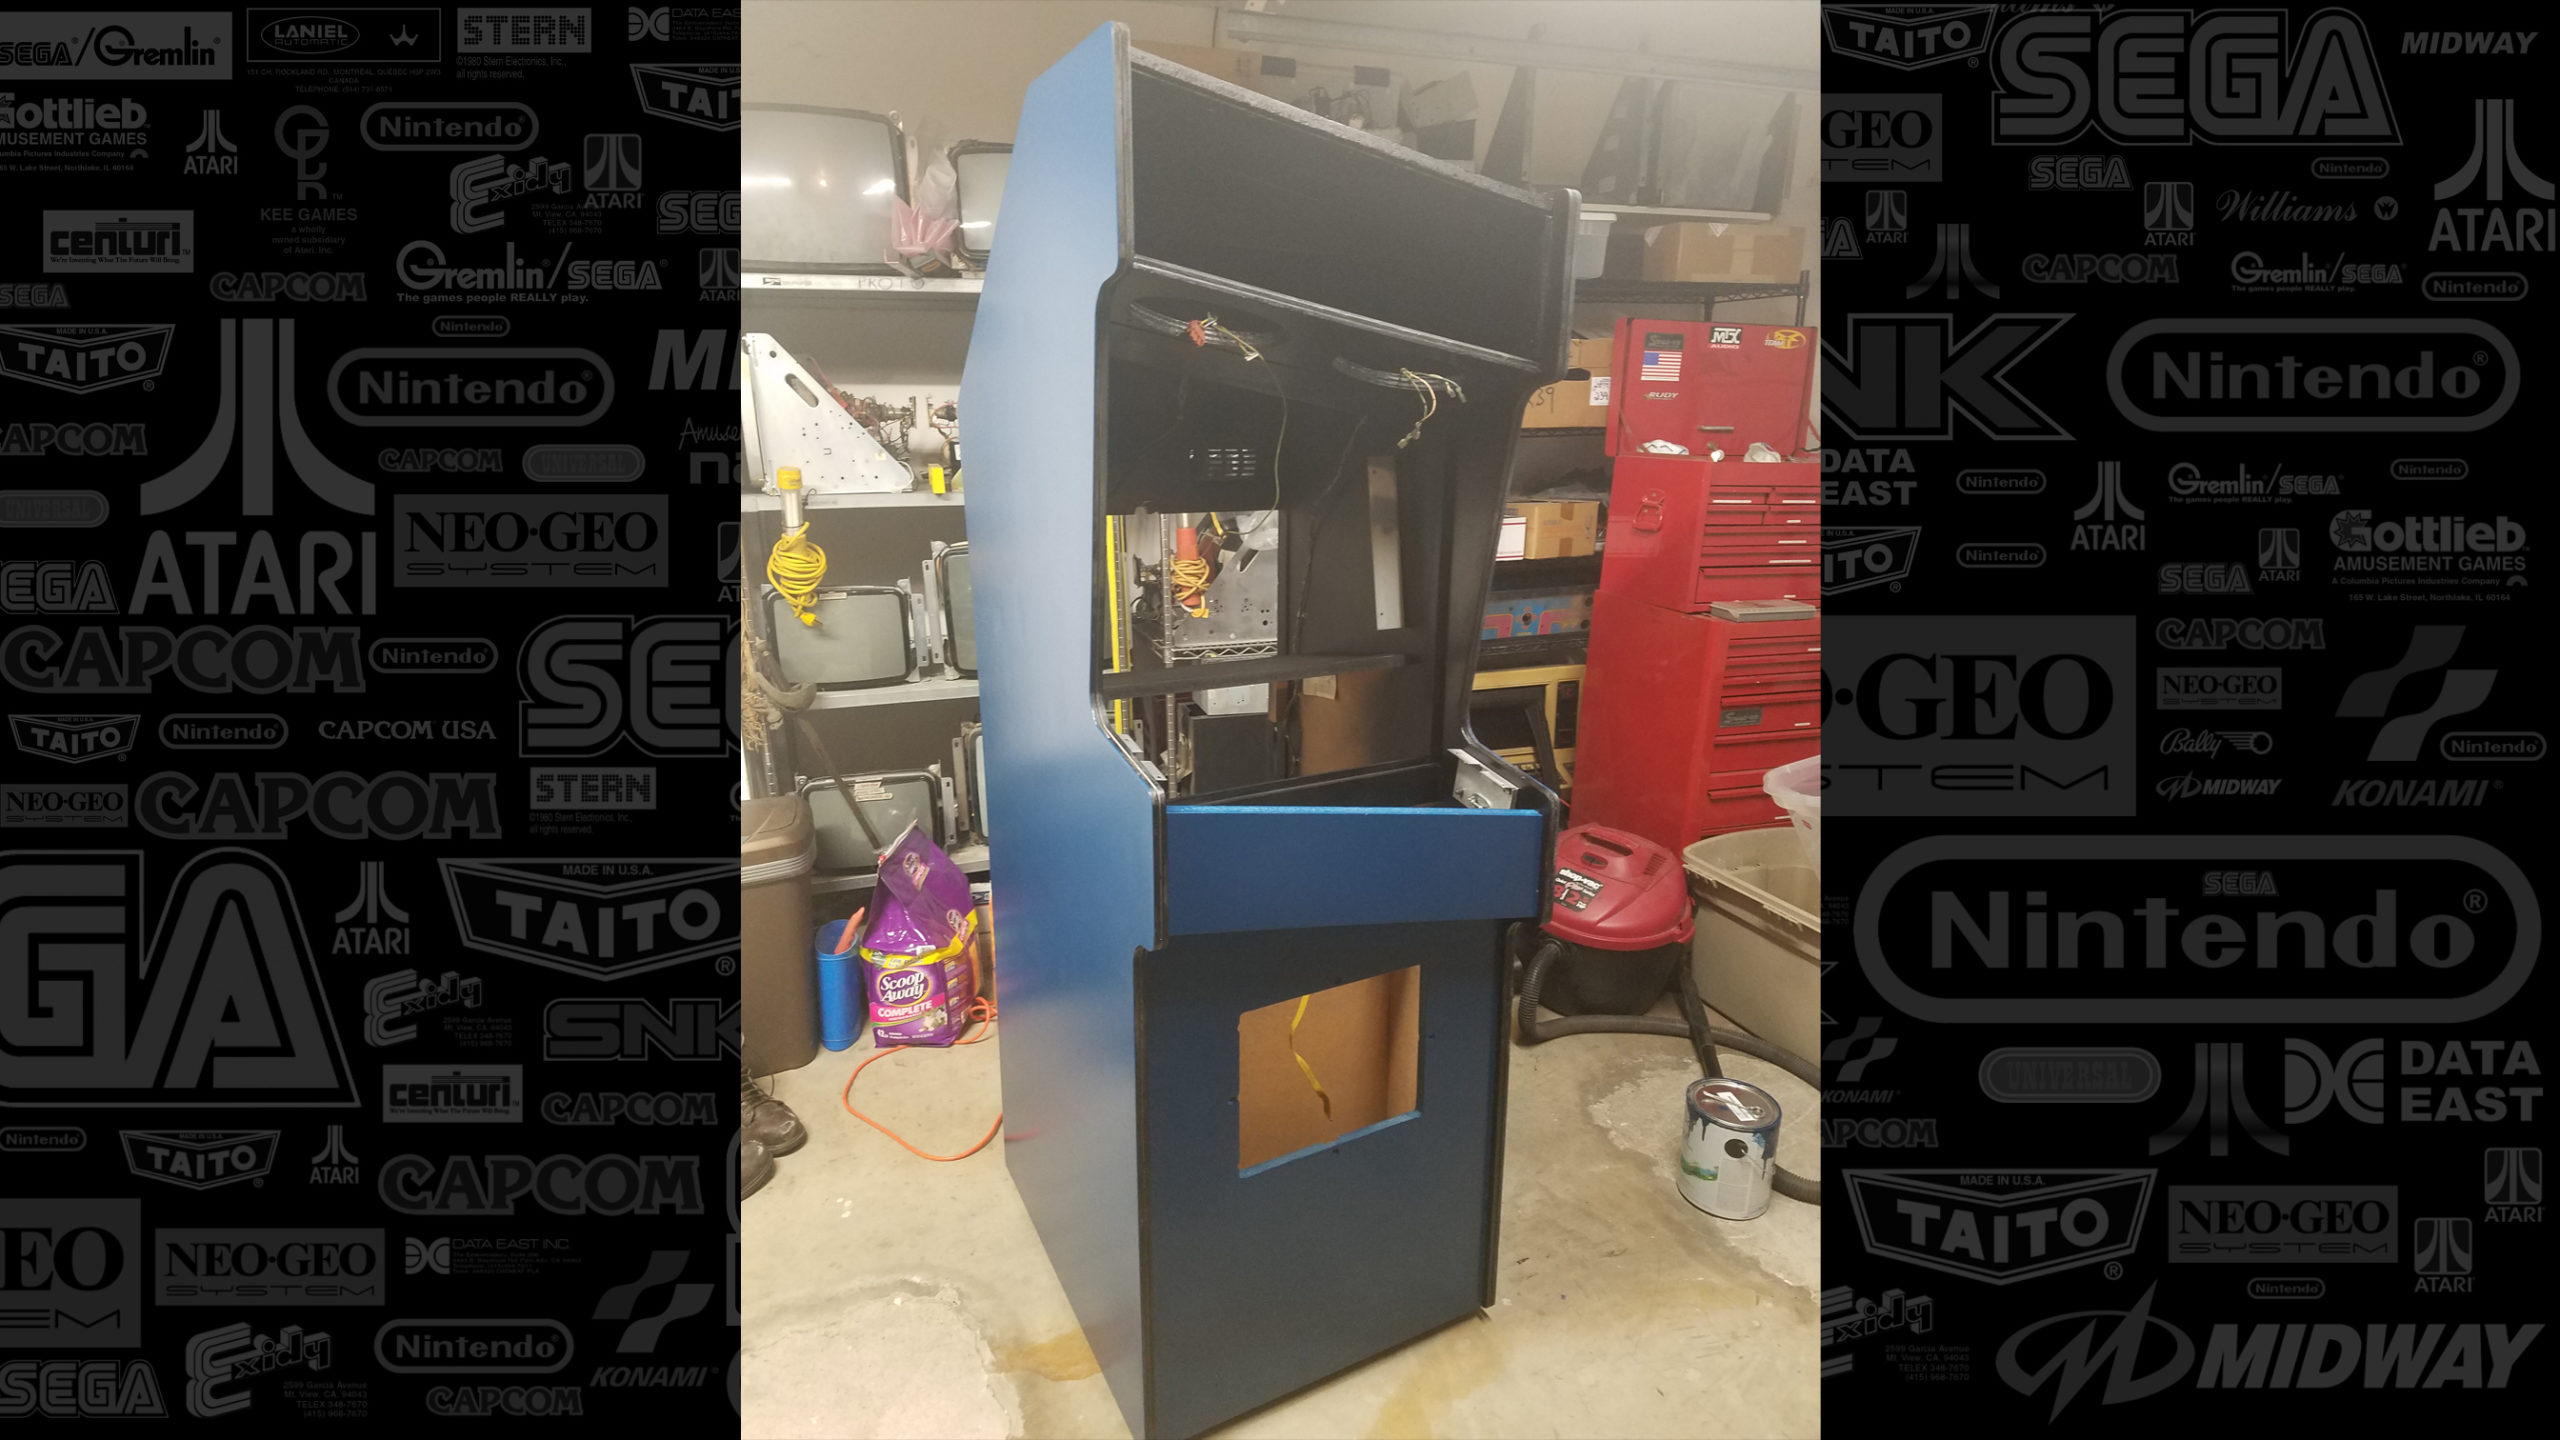
Three coats of black were sprayed on the top, back, back door, viewing area, and the side wings on the bottom with sanding in between.
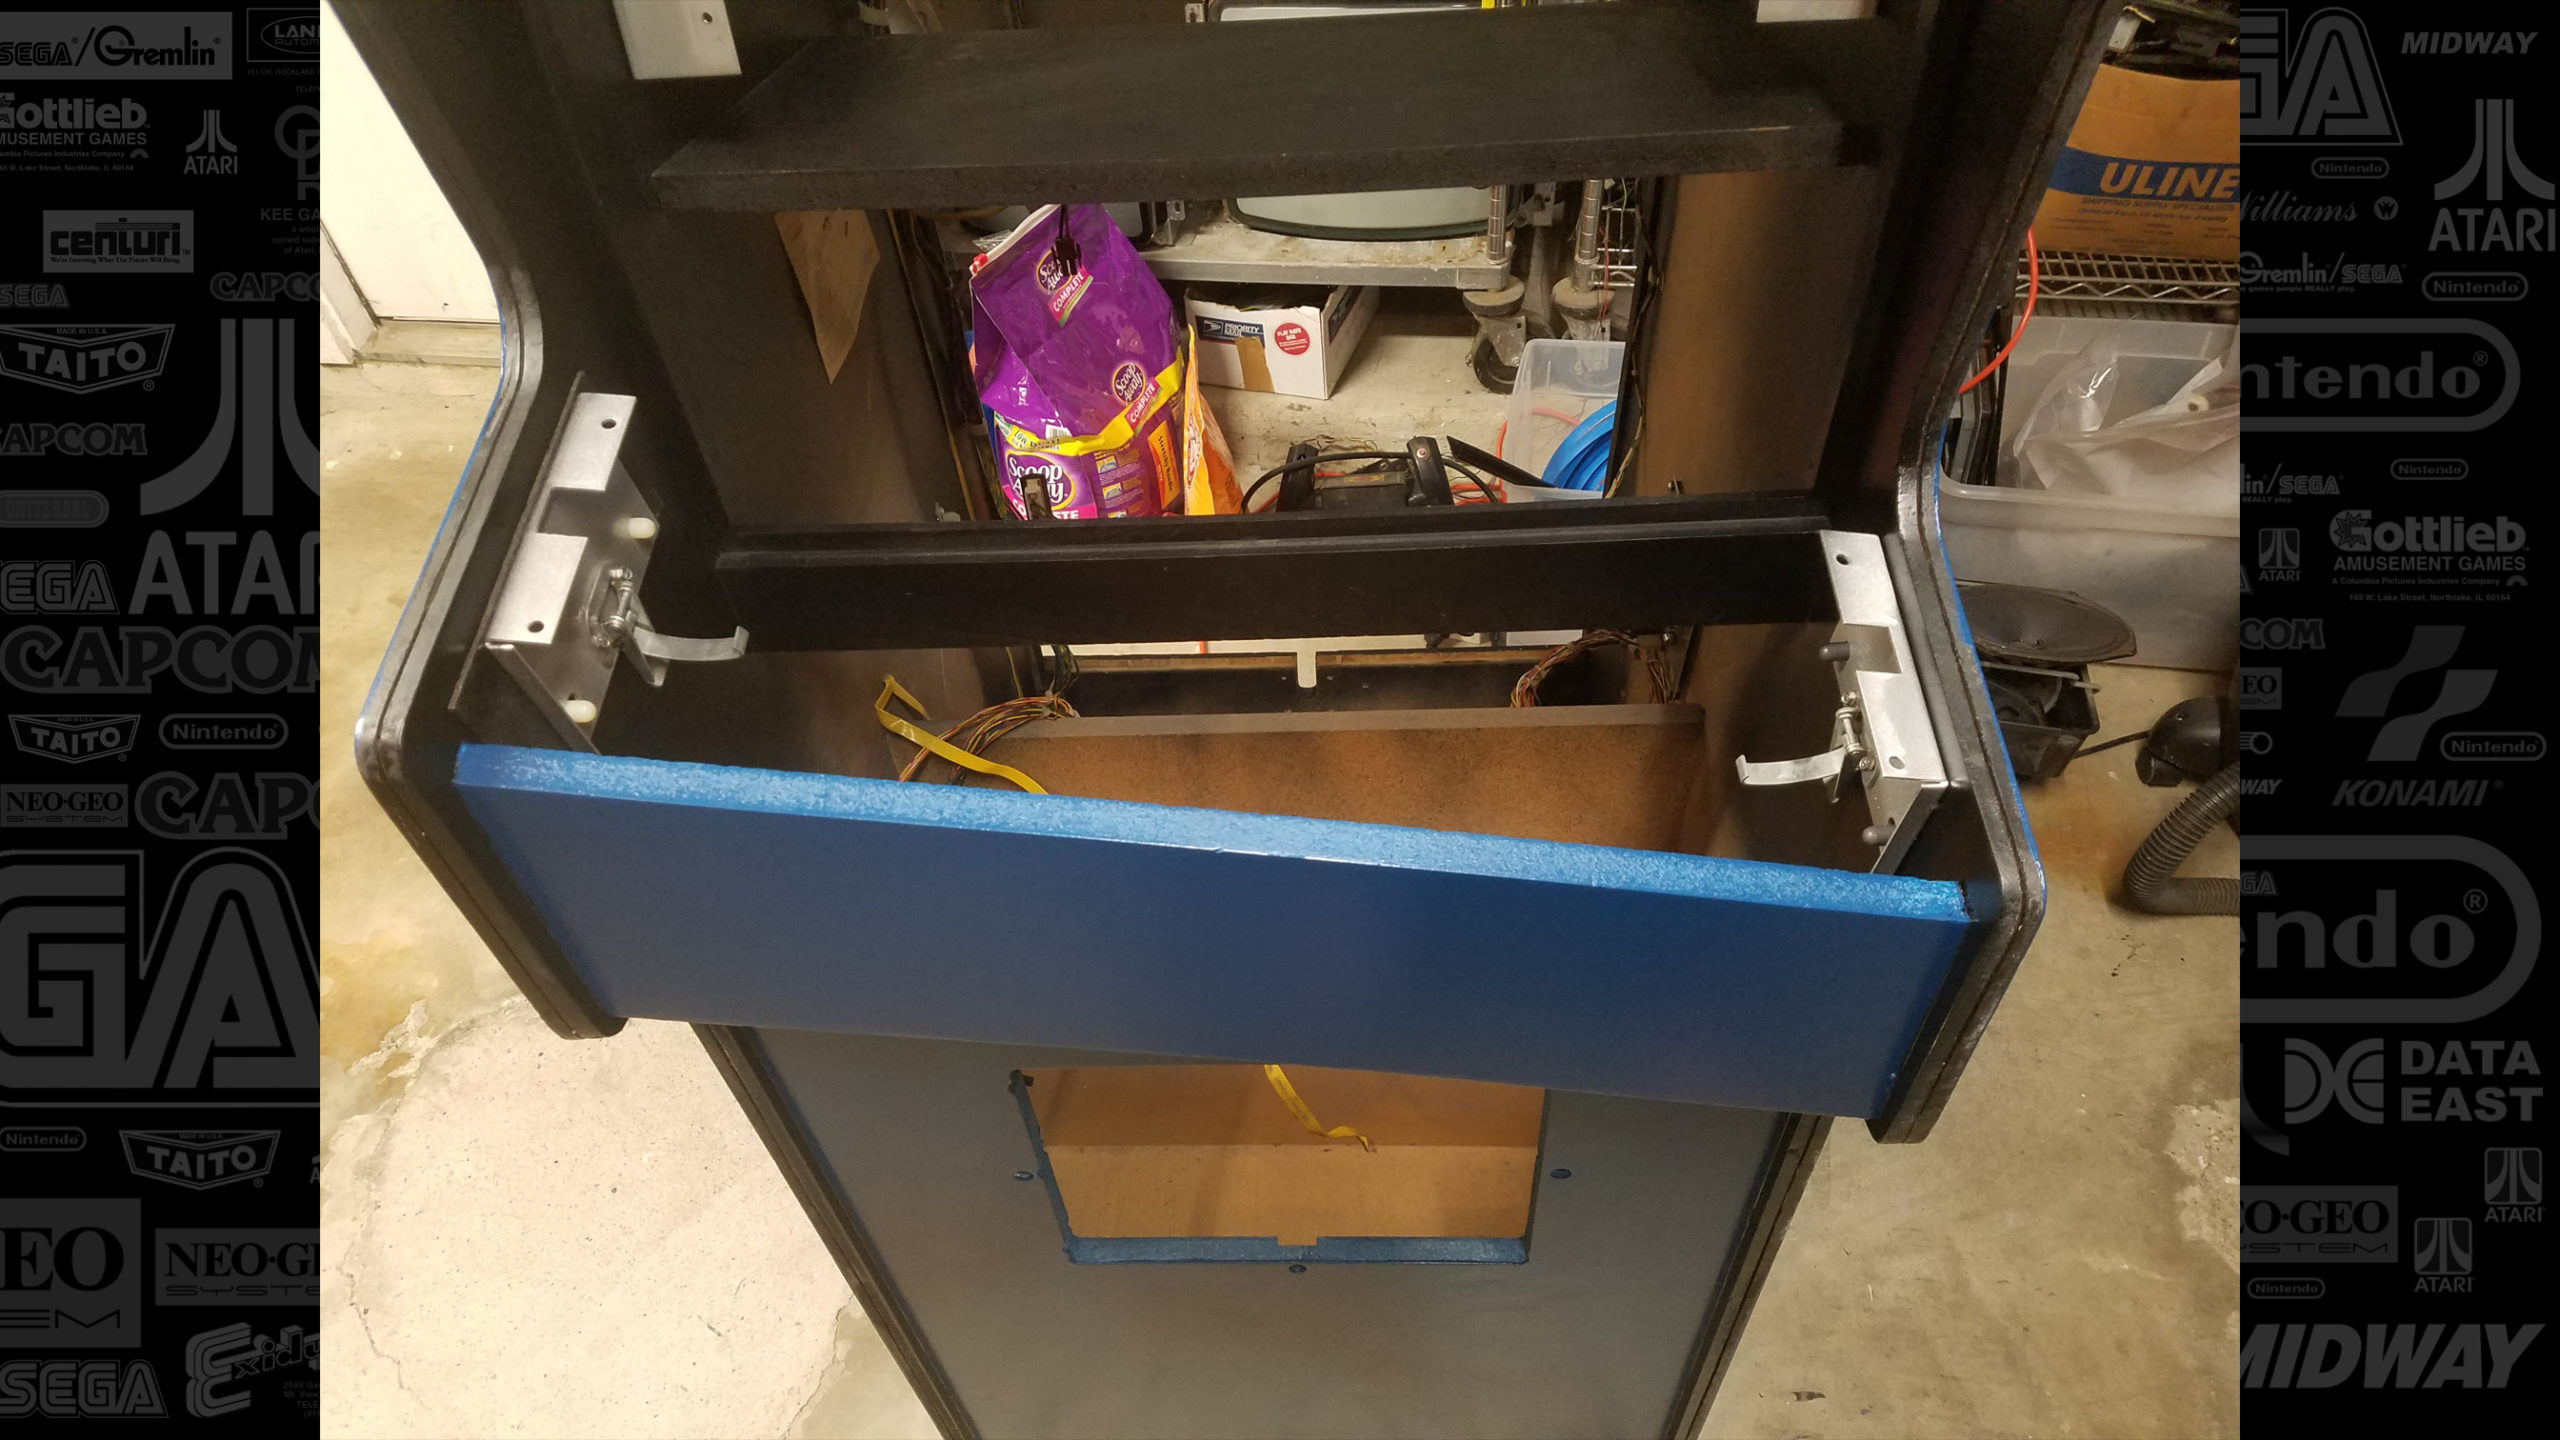
The blue on the cabinet was colored matched to the blue on the side art. Four coats of dark blue were applied with a light sanding. Paint going back on the cabinet after all the hours in repairing and prepping the cabinet is so satisfying!
While the paint was drying, the control panel brackets were stripped, smoothed, painted, and installed. Every nut, bolt, screw, and bracket will have been cleaned, polished, and painted by the time Wacko is finished.