Posted on Leave a comment

Lighting Up Wacko

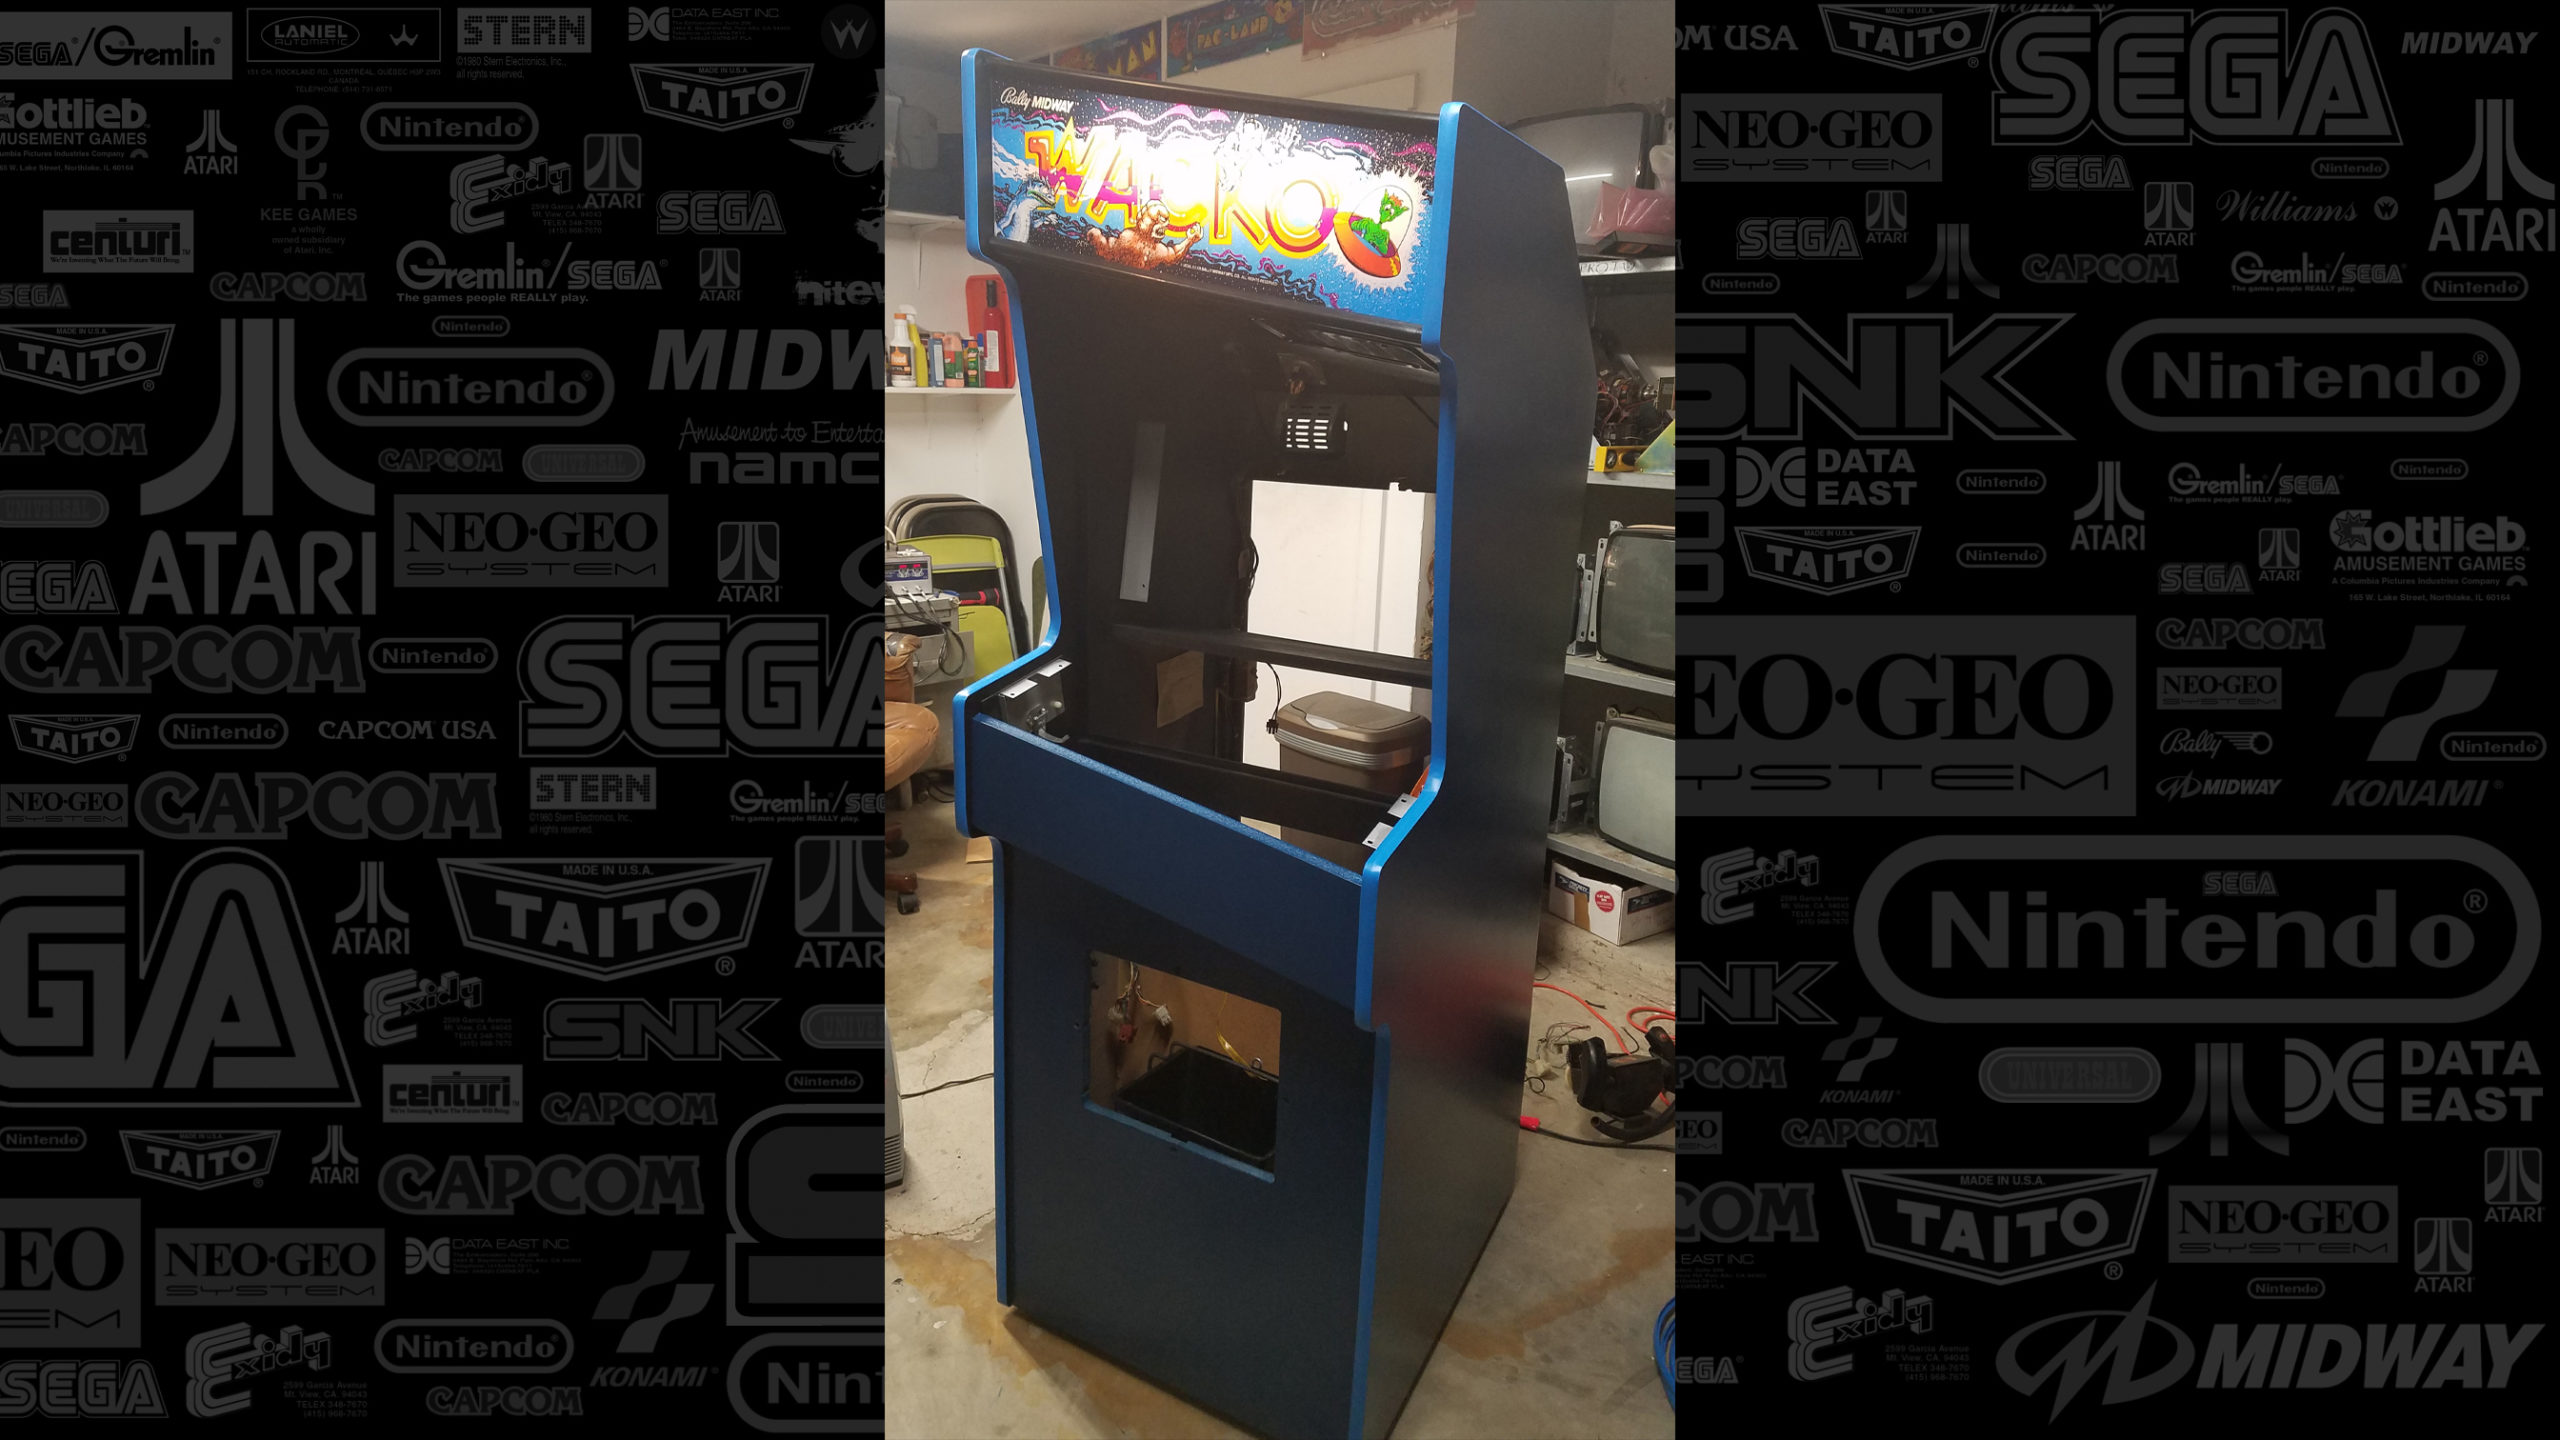
After reinstalling the speakers, grills, t-molding, and coin bucket, the original light fixture was replaced with an LED fixture.  It really makes the colors in the marquee pop.  We replace all lights in our arcade restores with LEDs which reduces power load and heat saving the marquee art from damage.

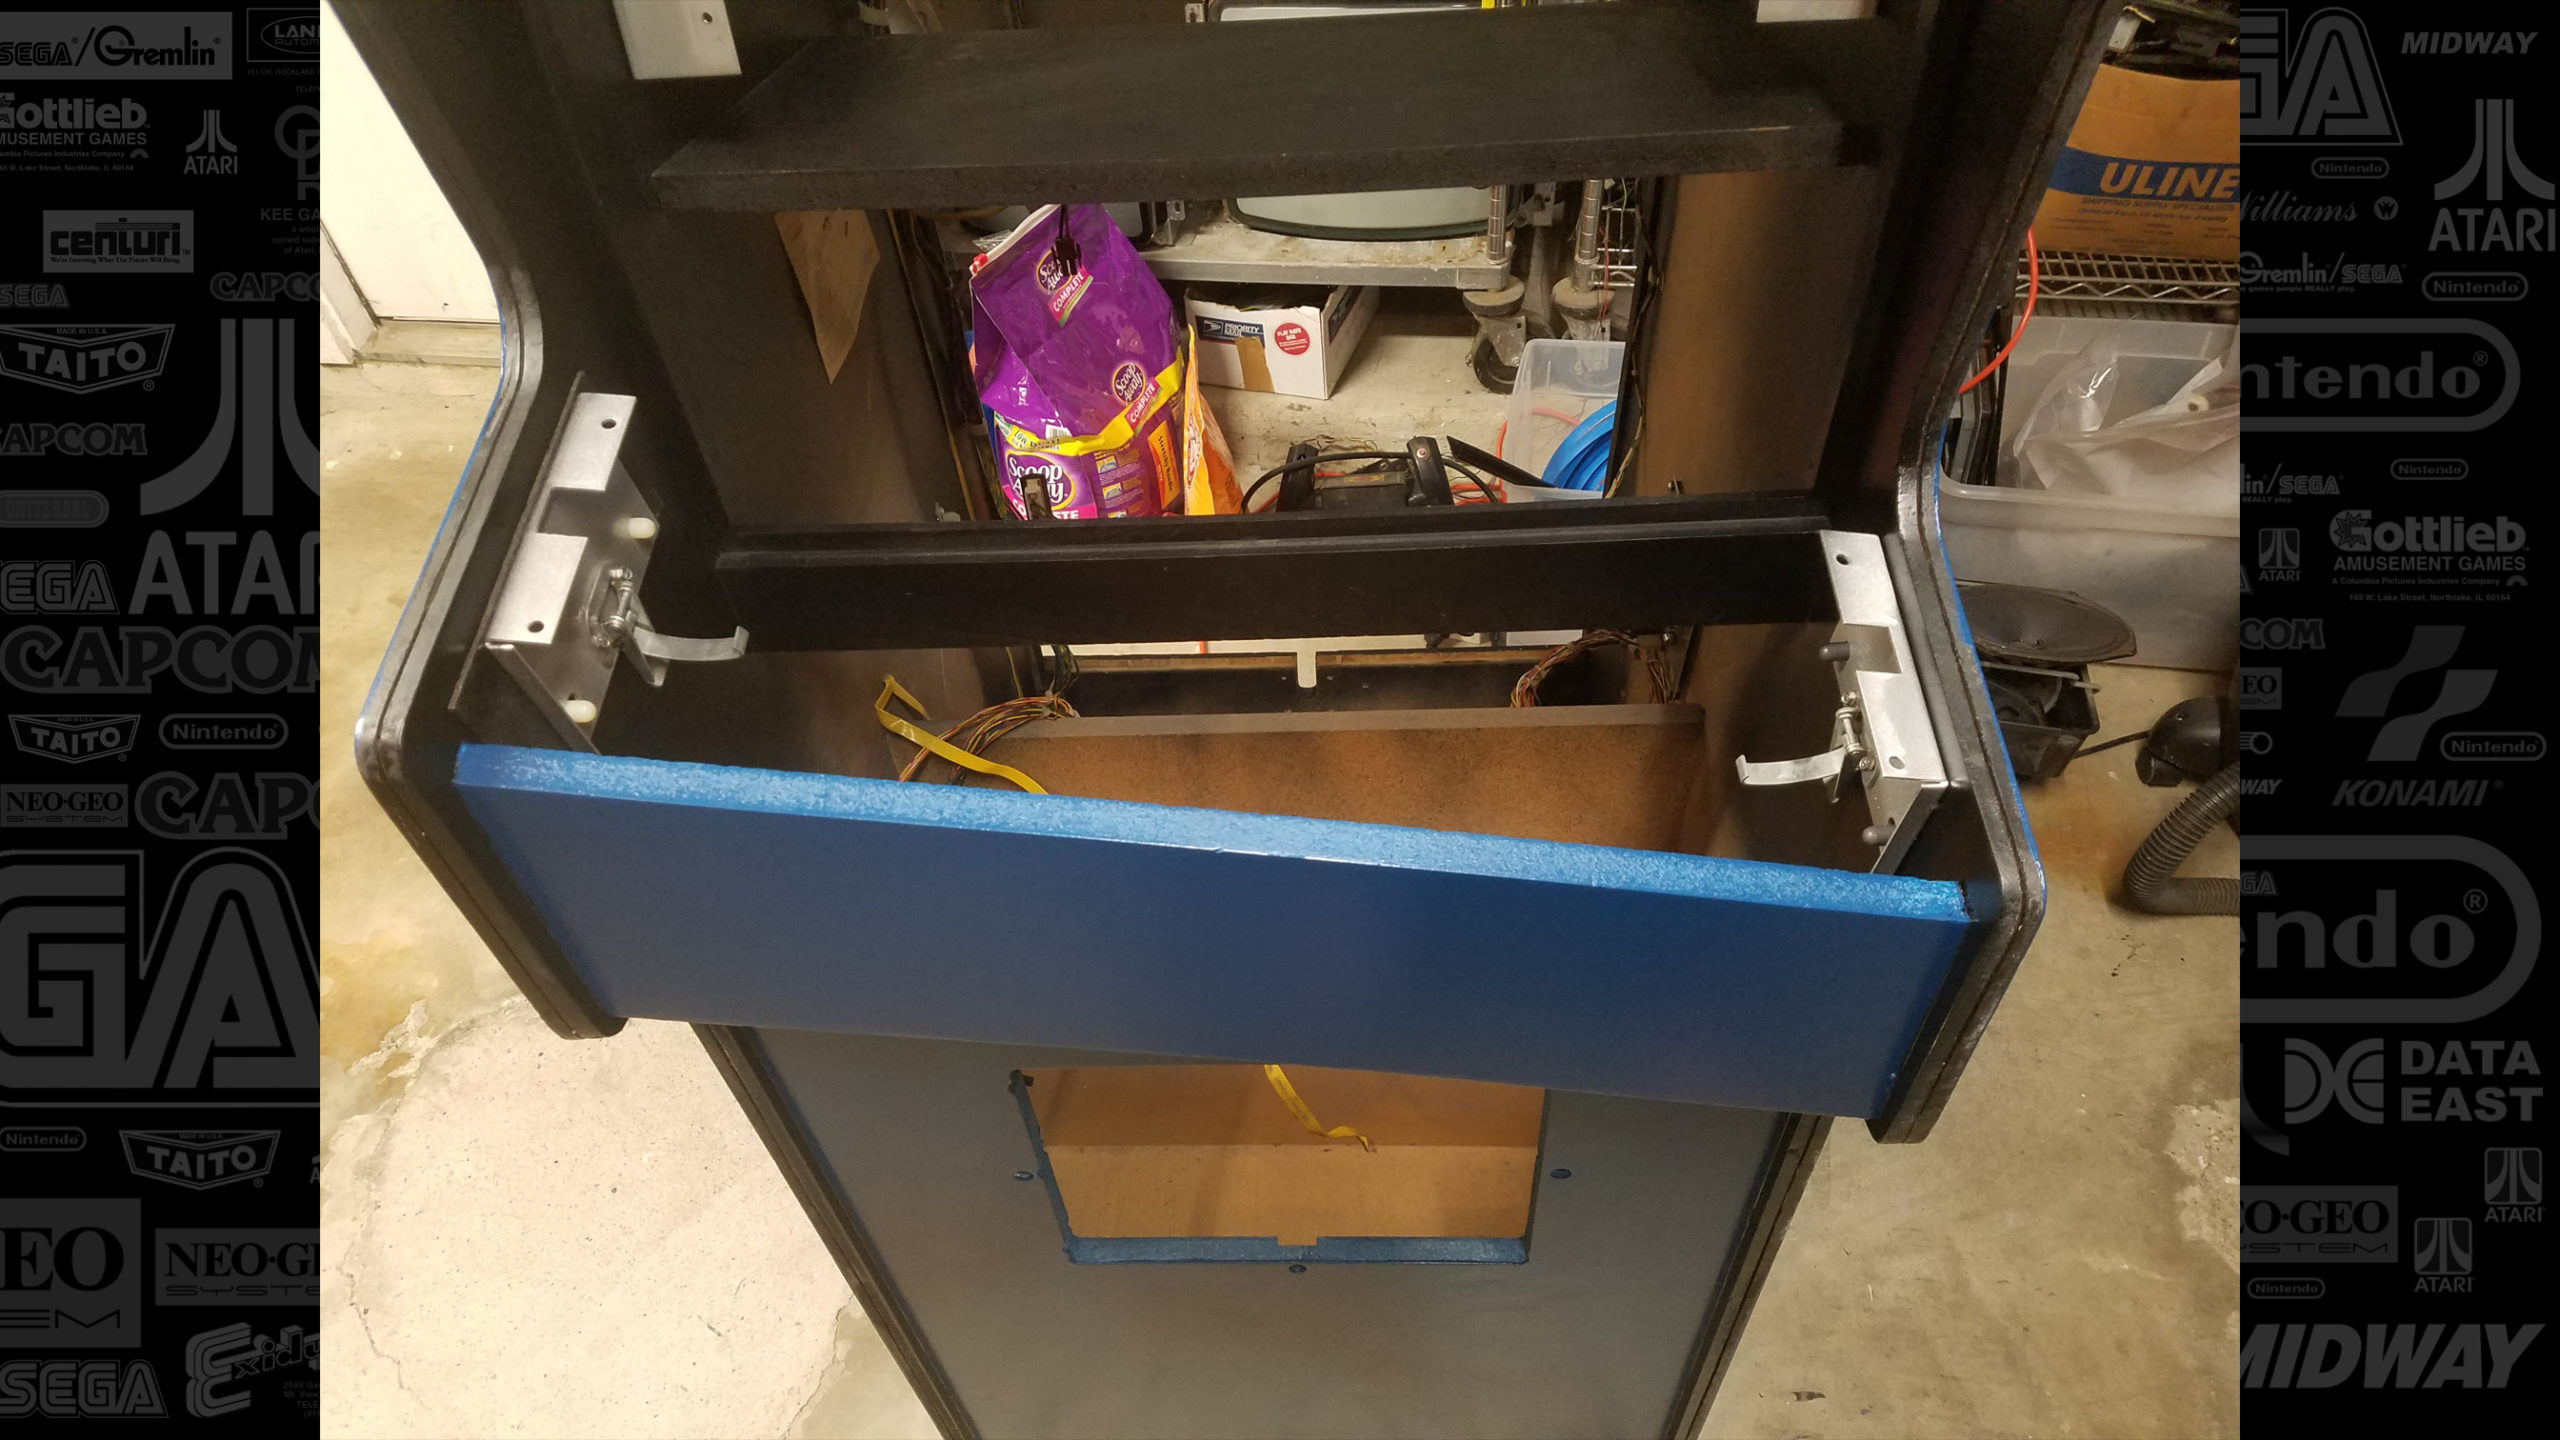
The coin door was stripped and a new textured finish was applied like original.  All the hardware was polished and a new nameplate with lock was installed.  It looks brand new!

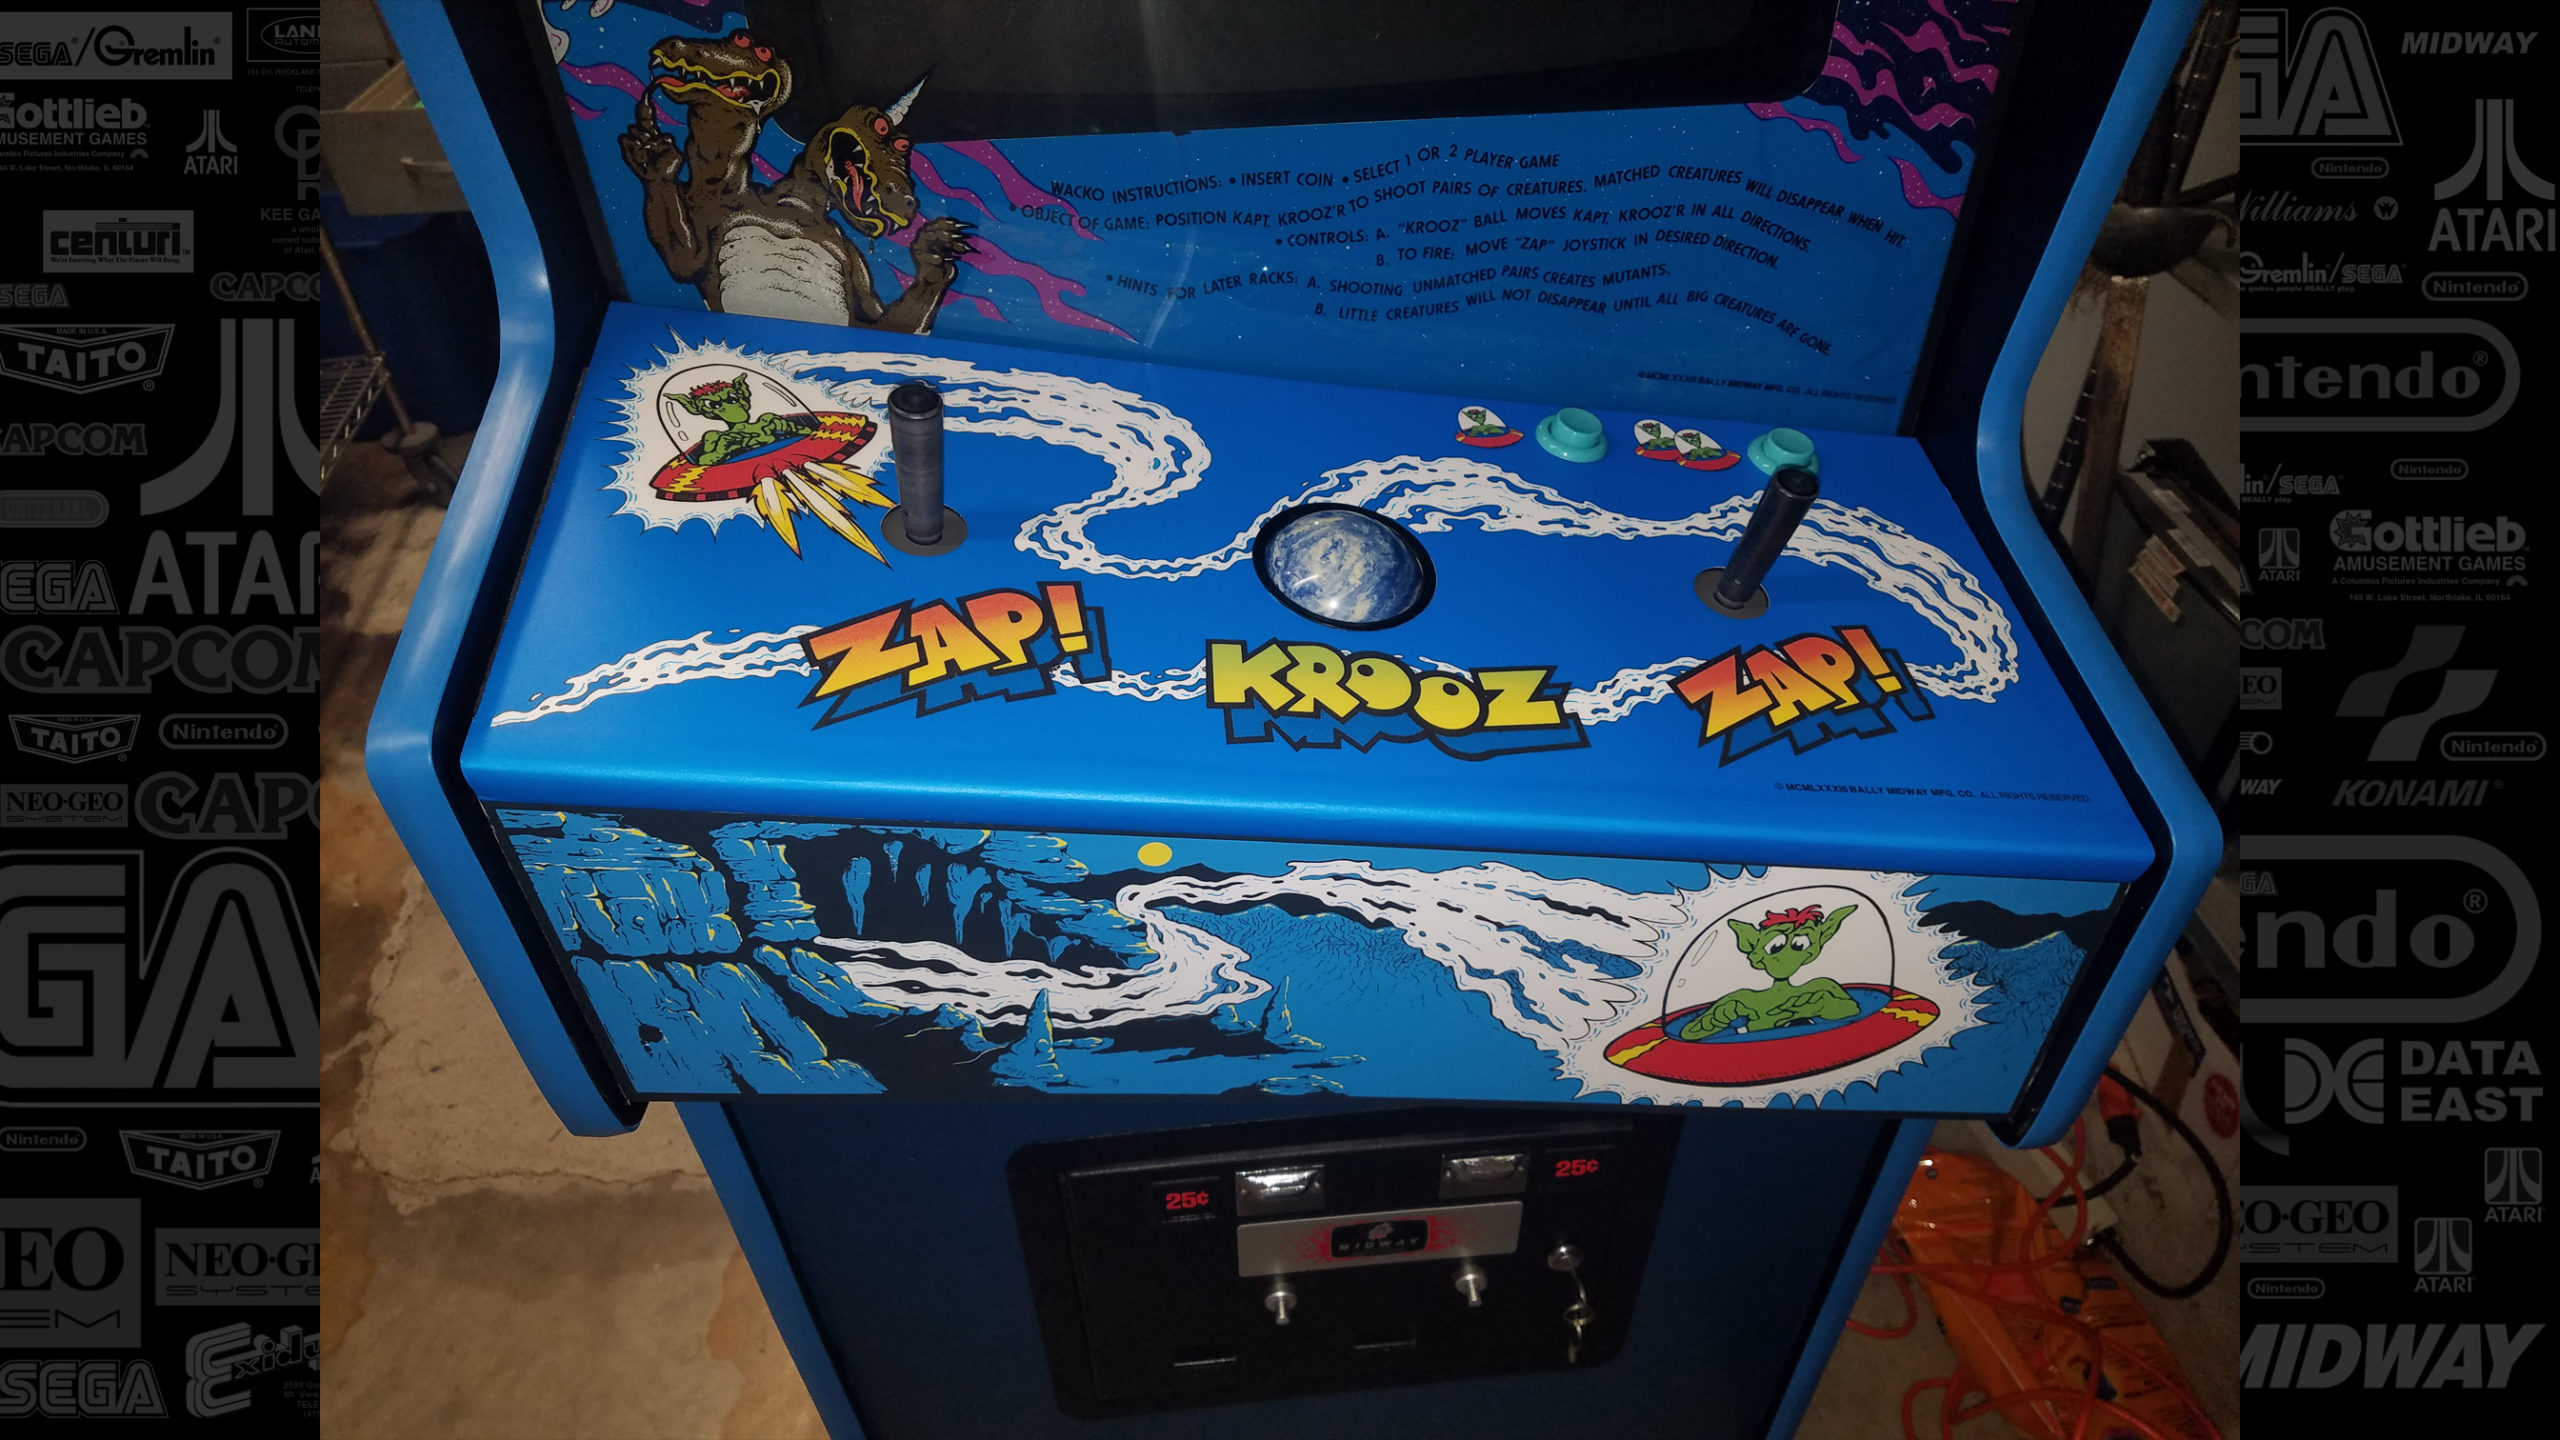
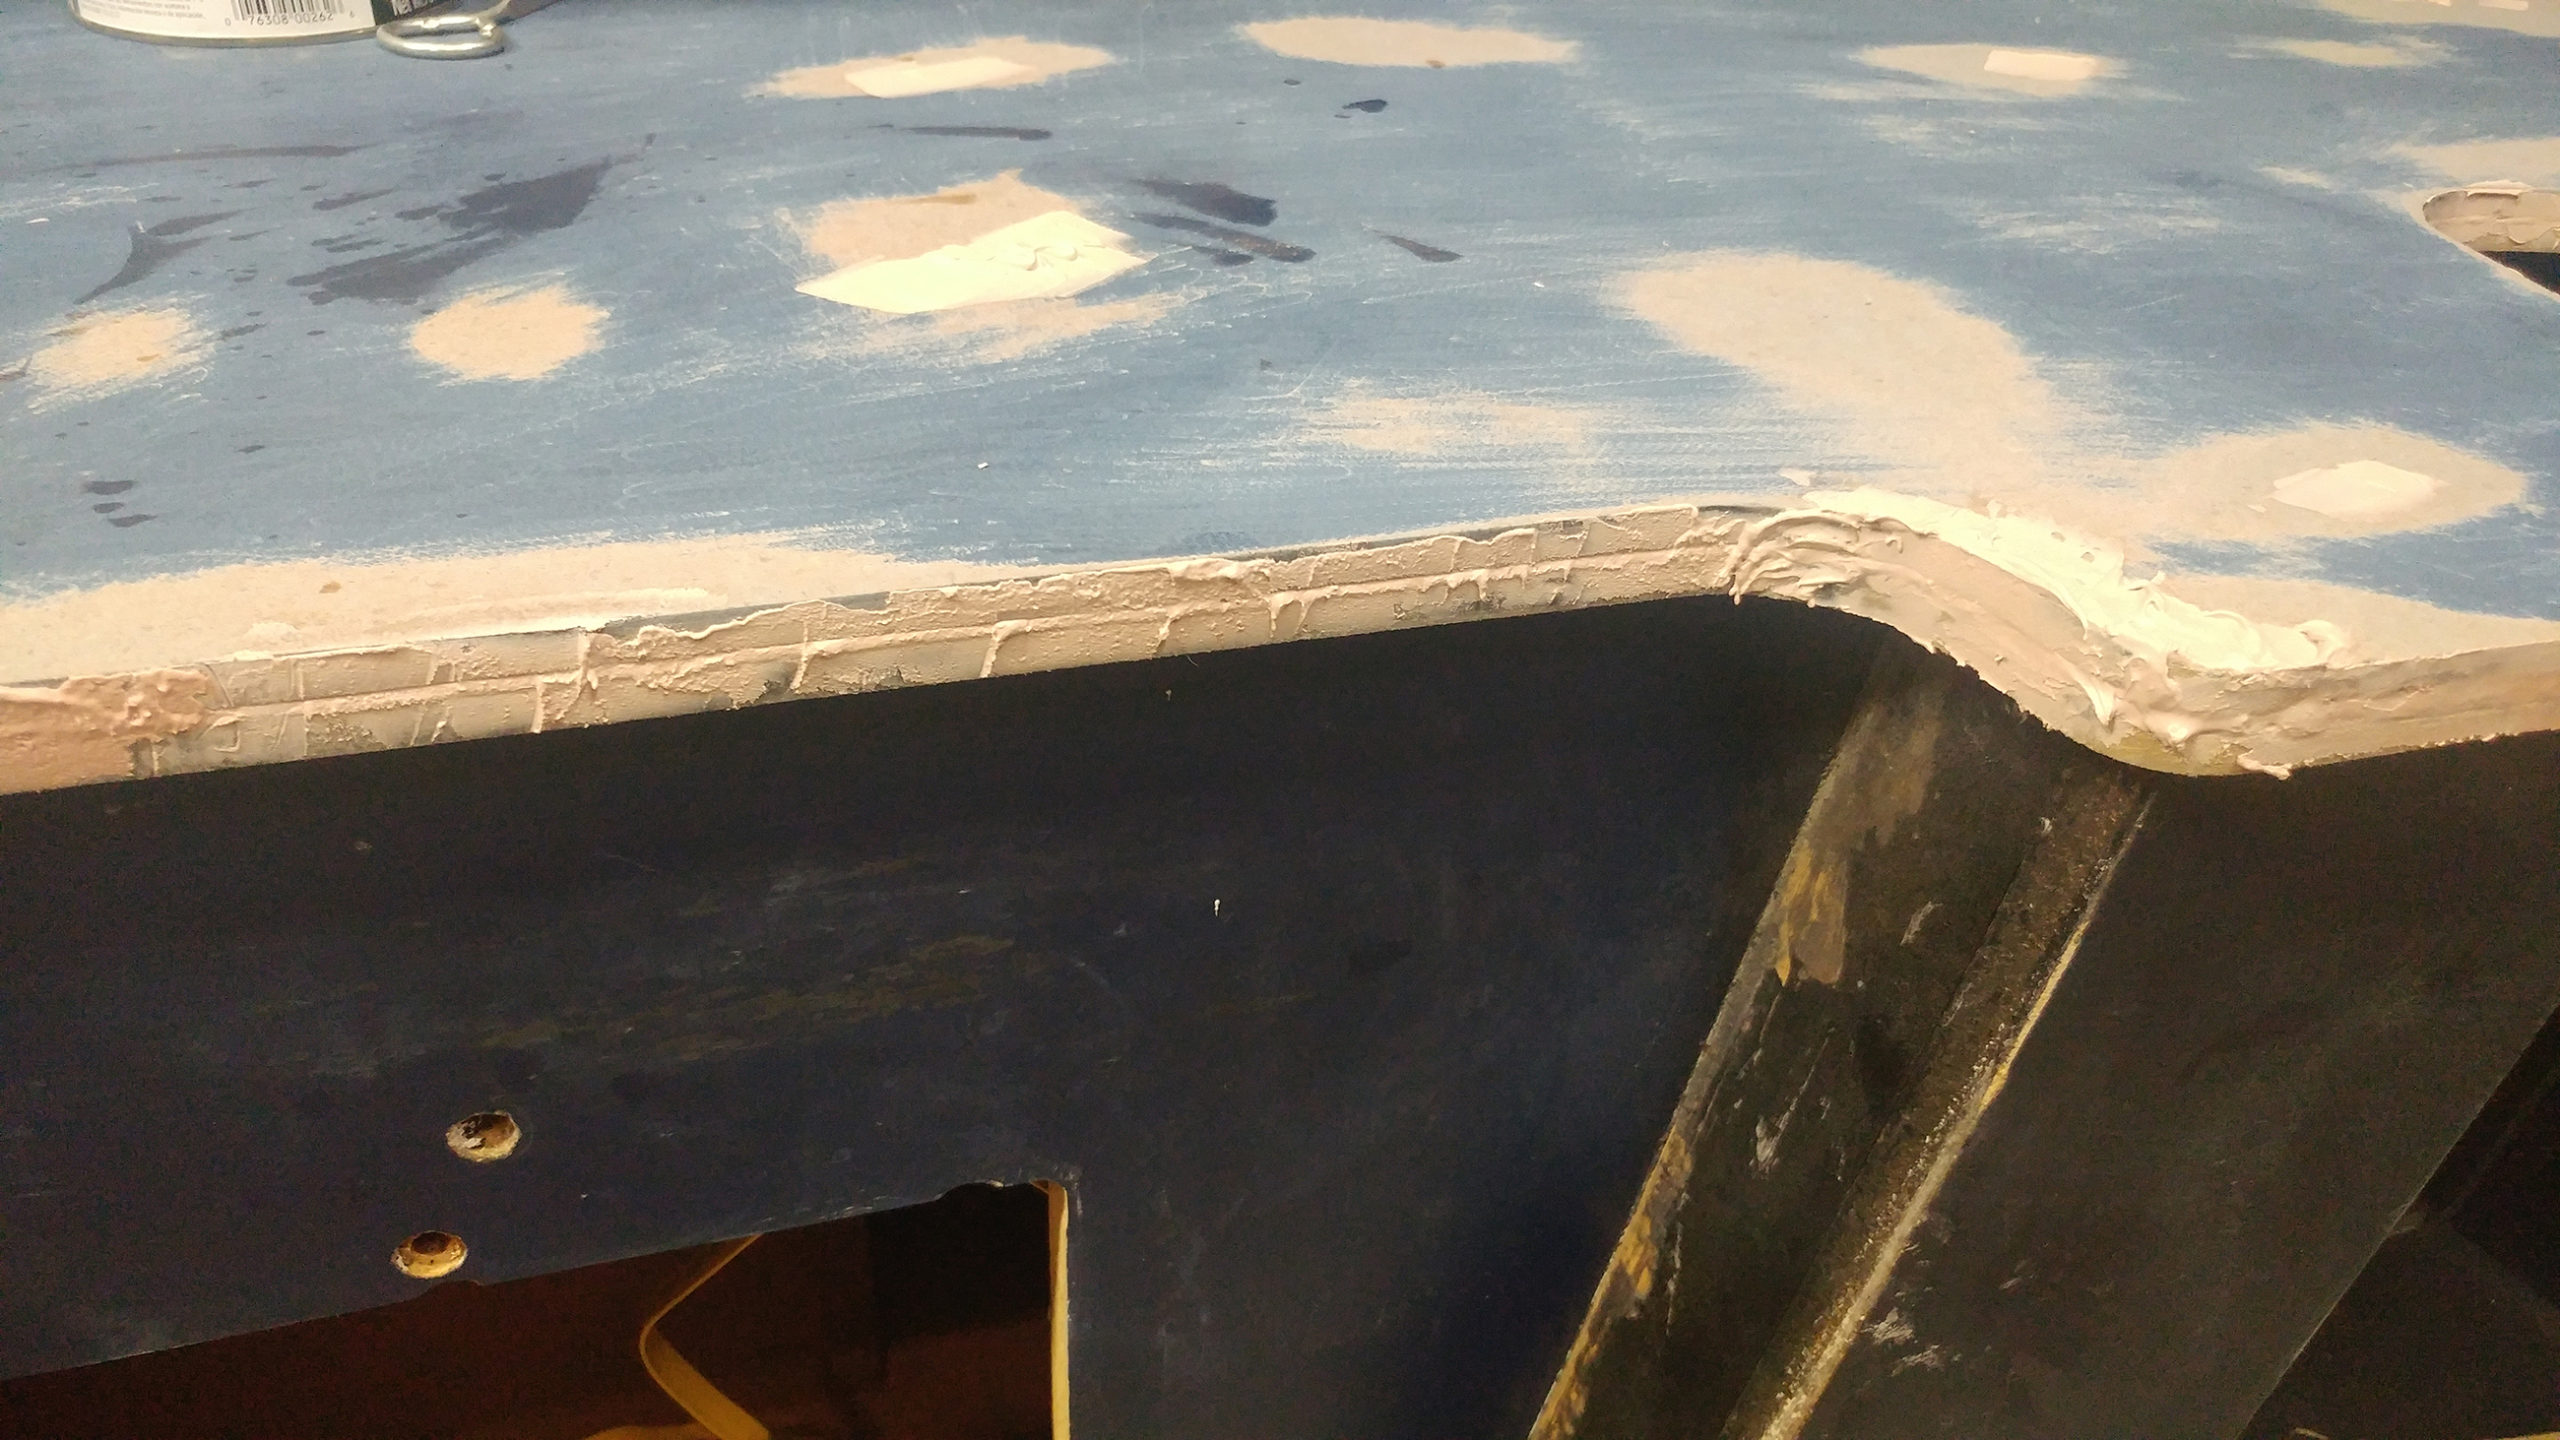
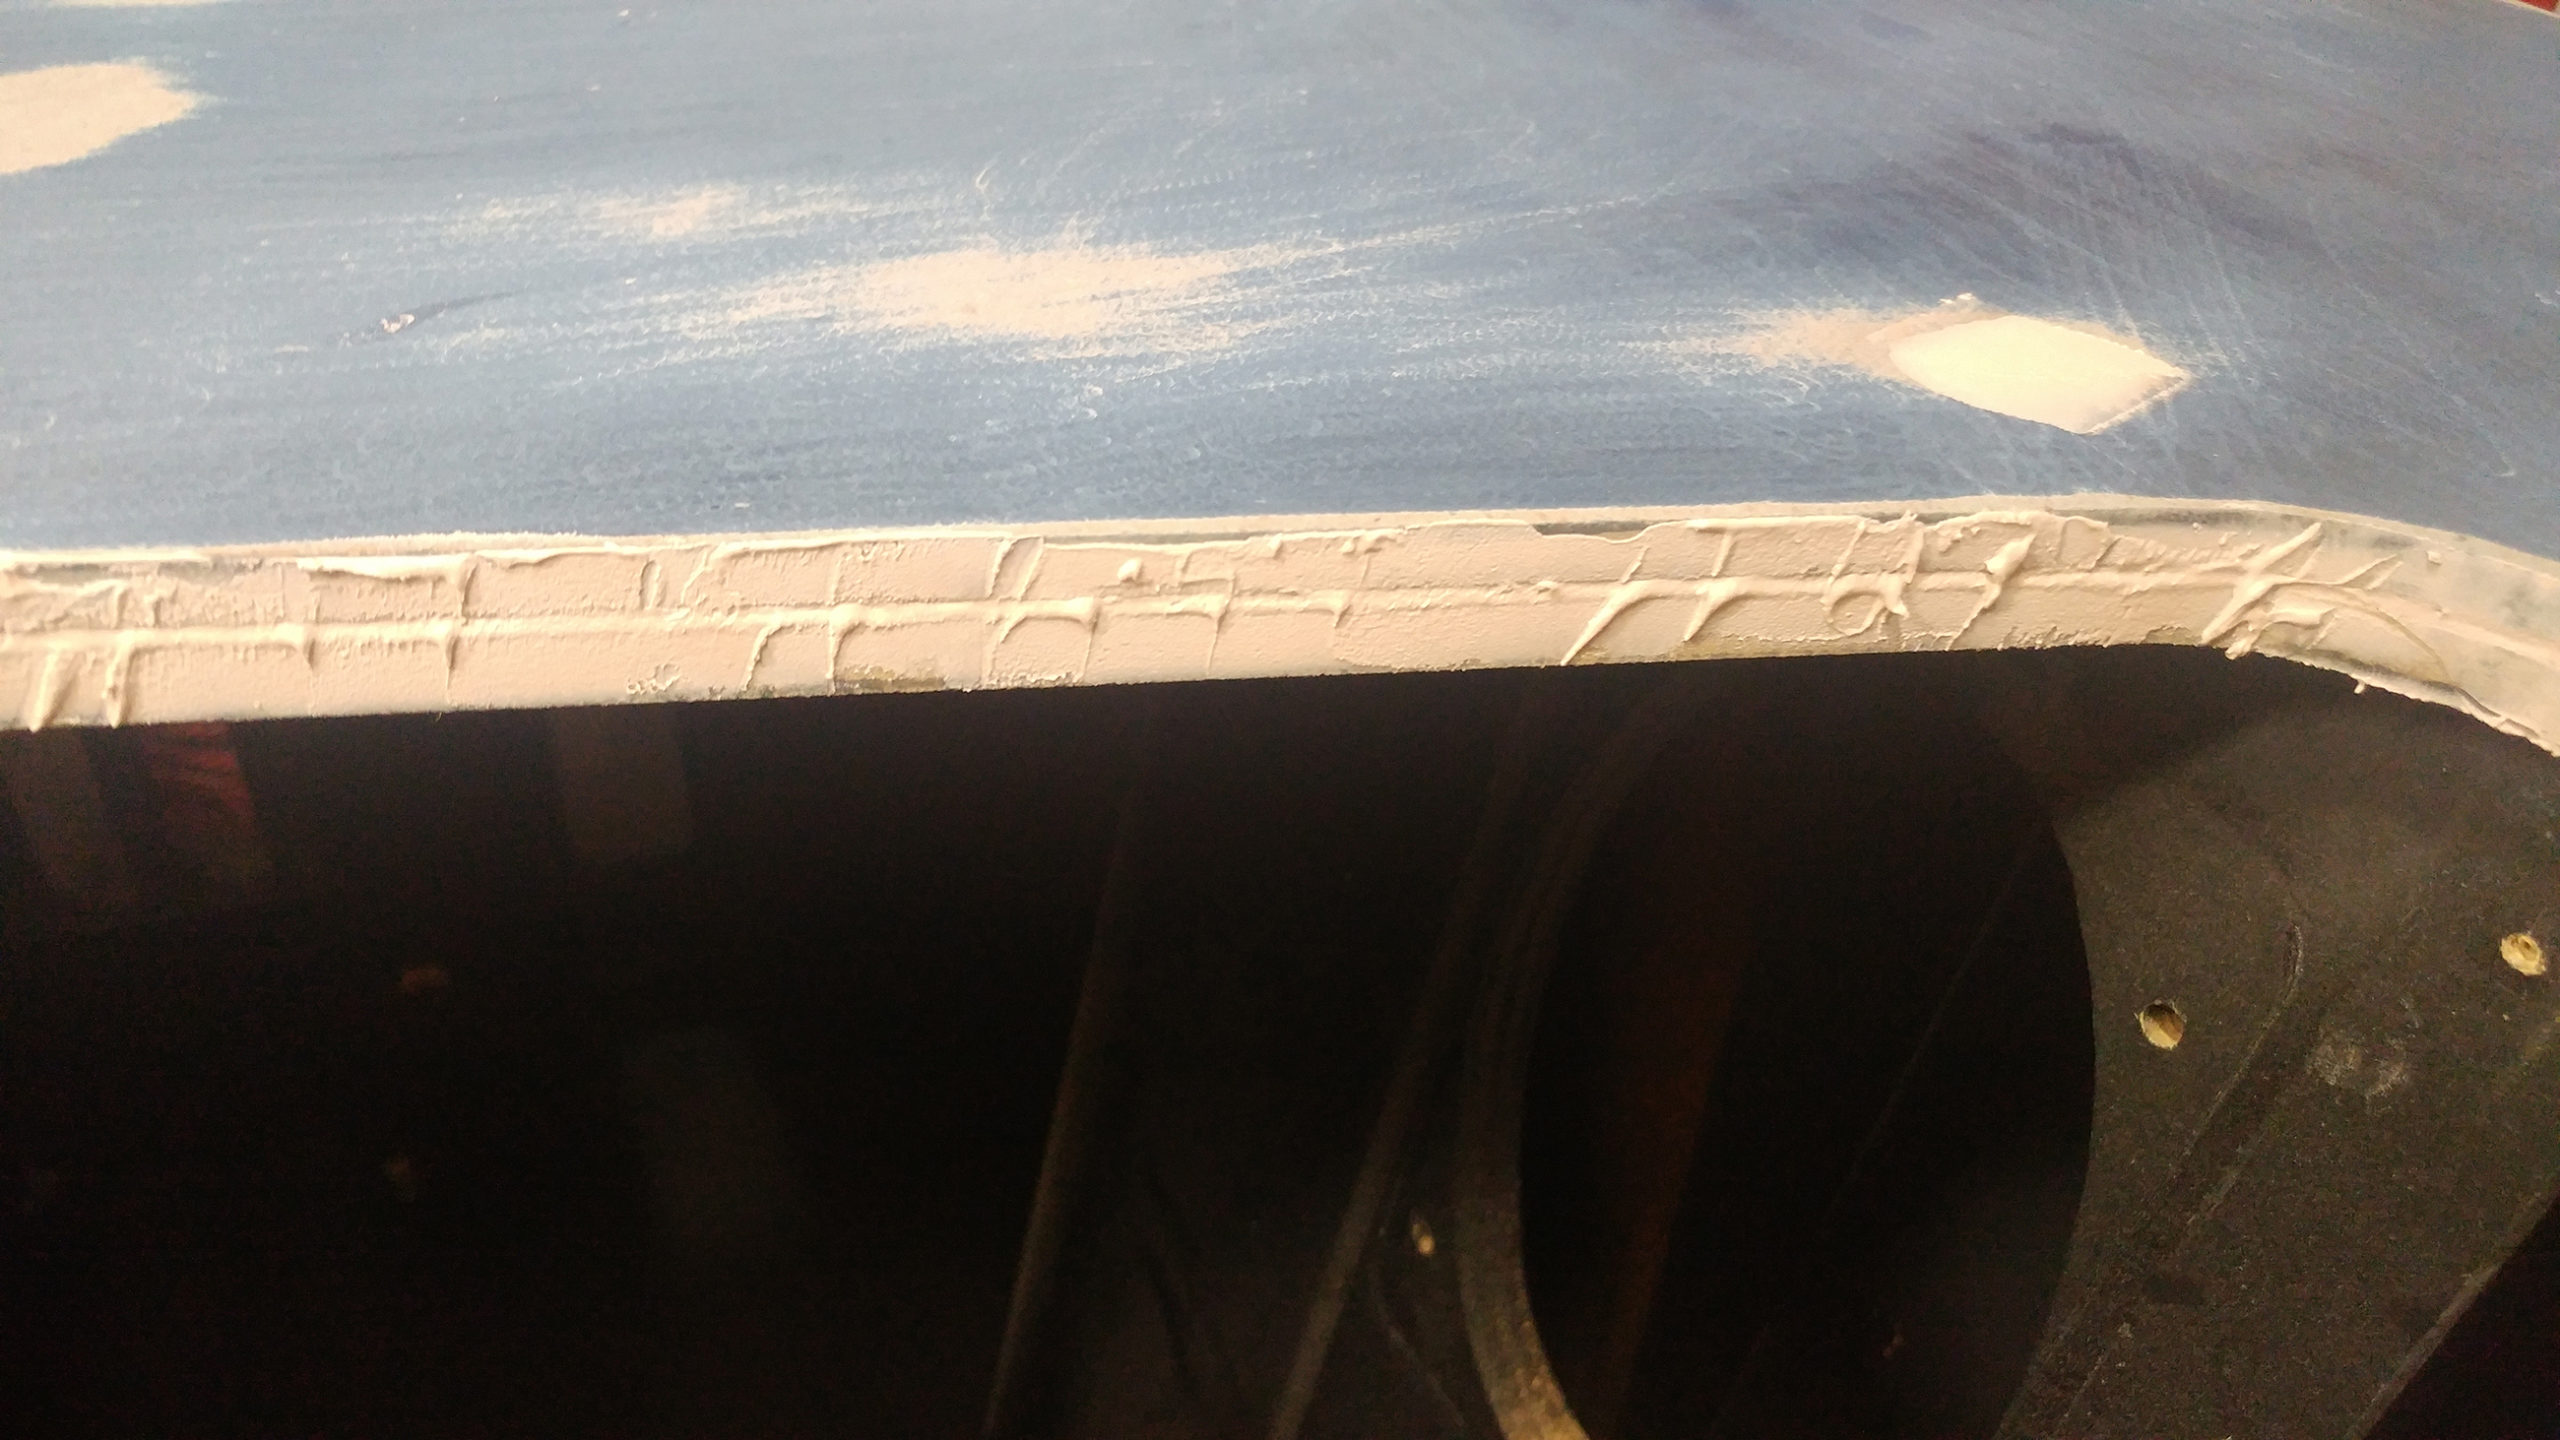
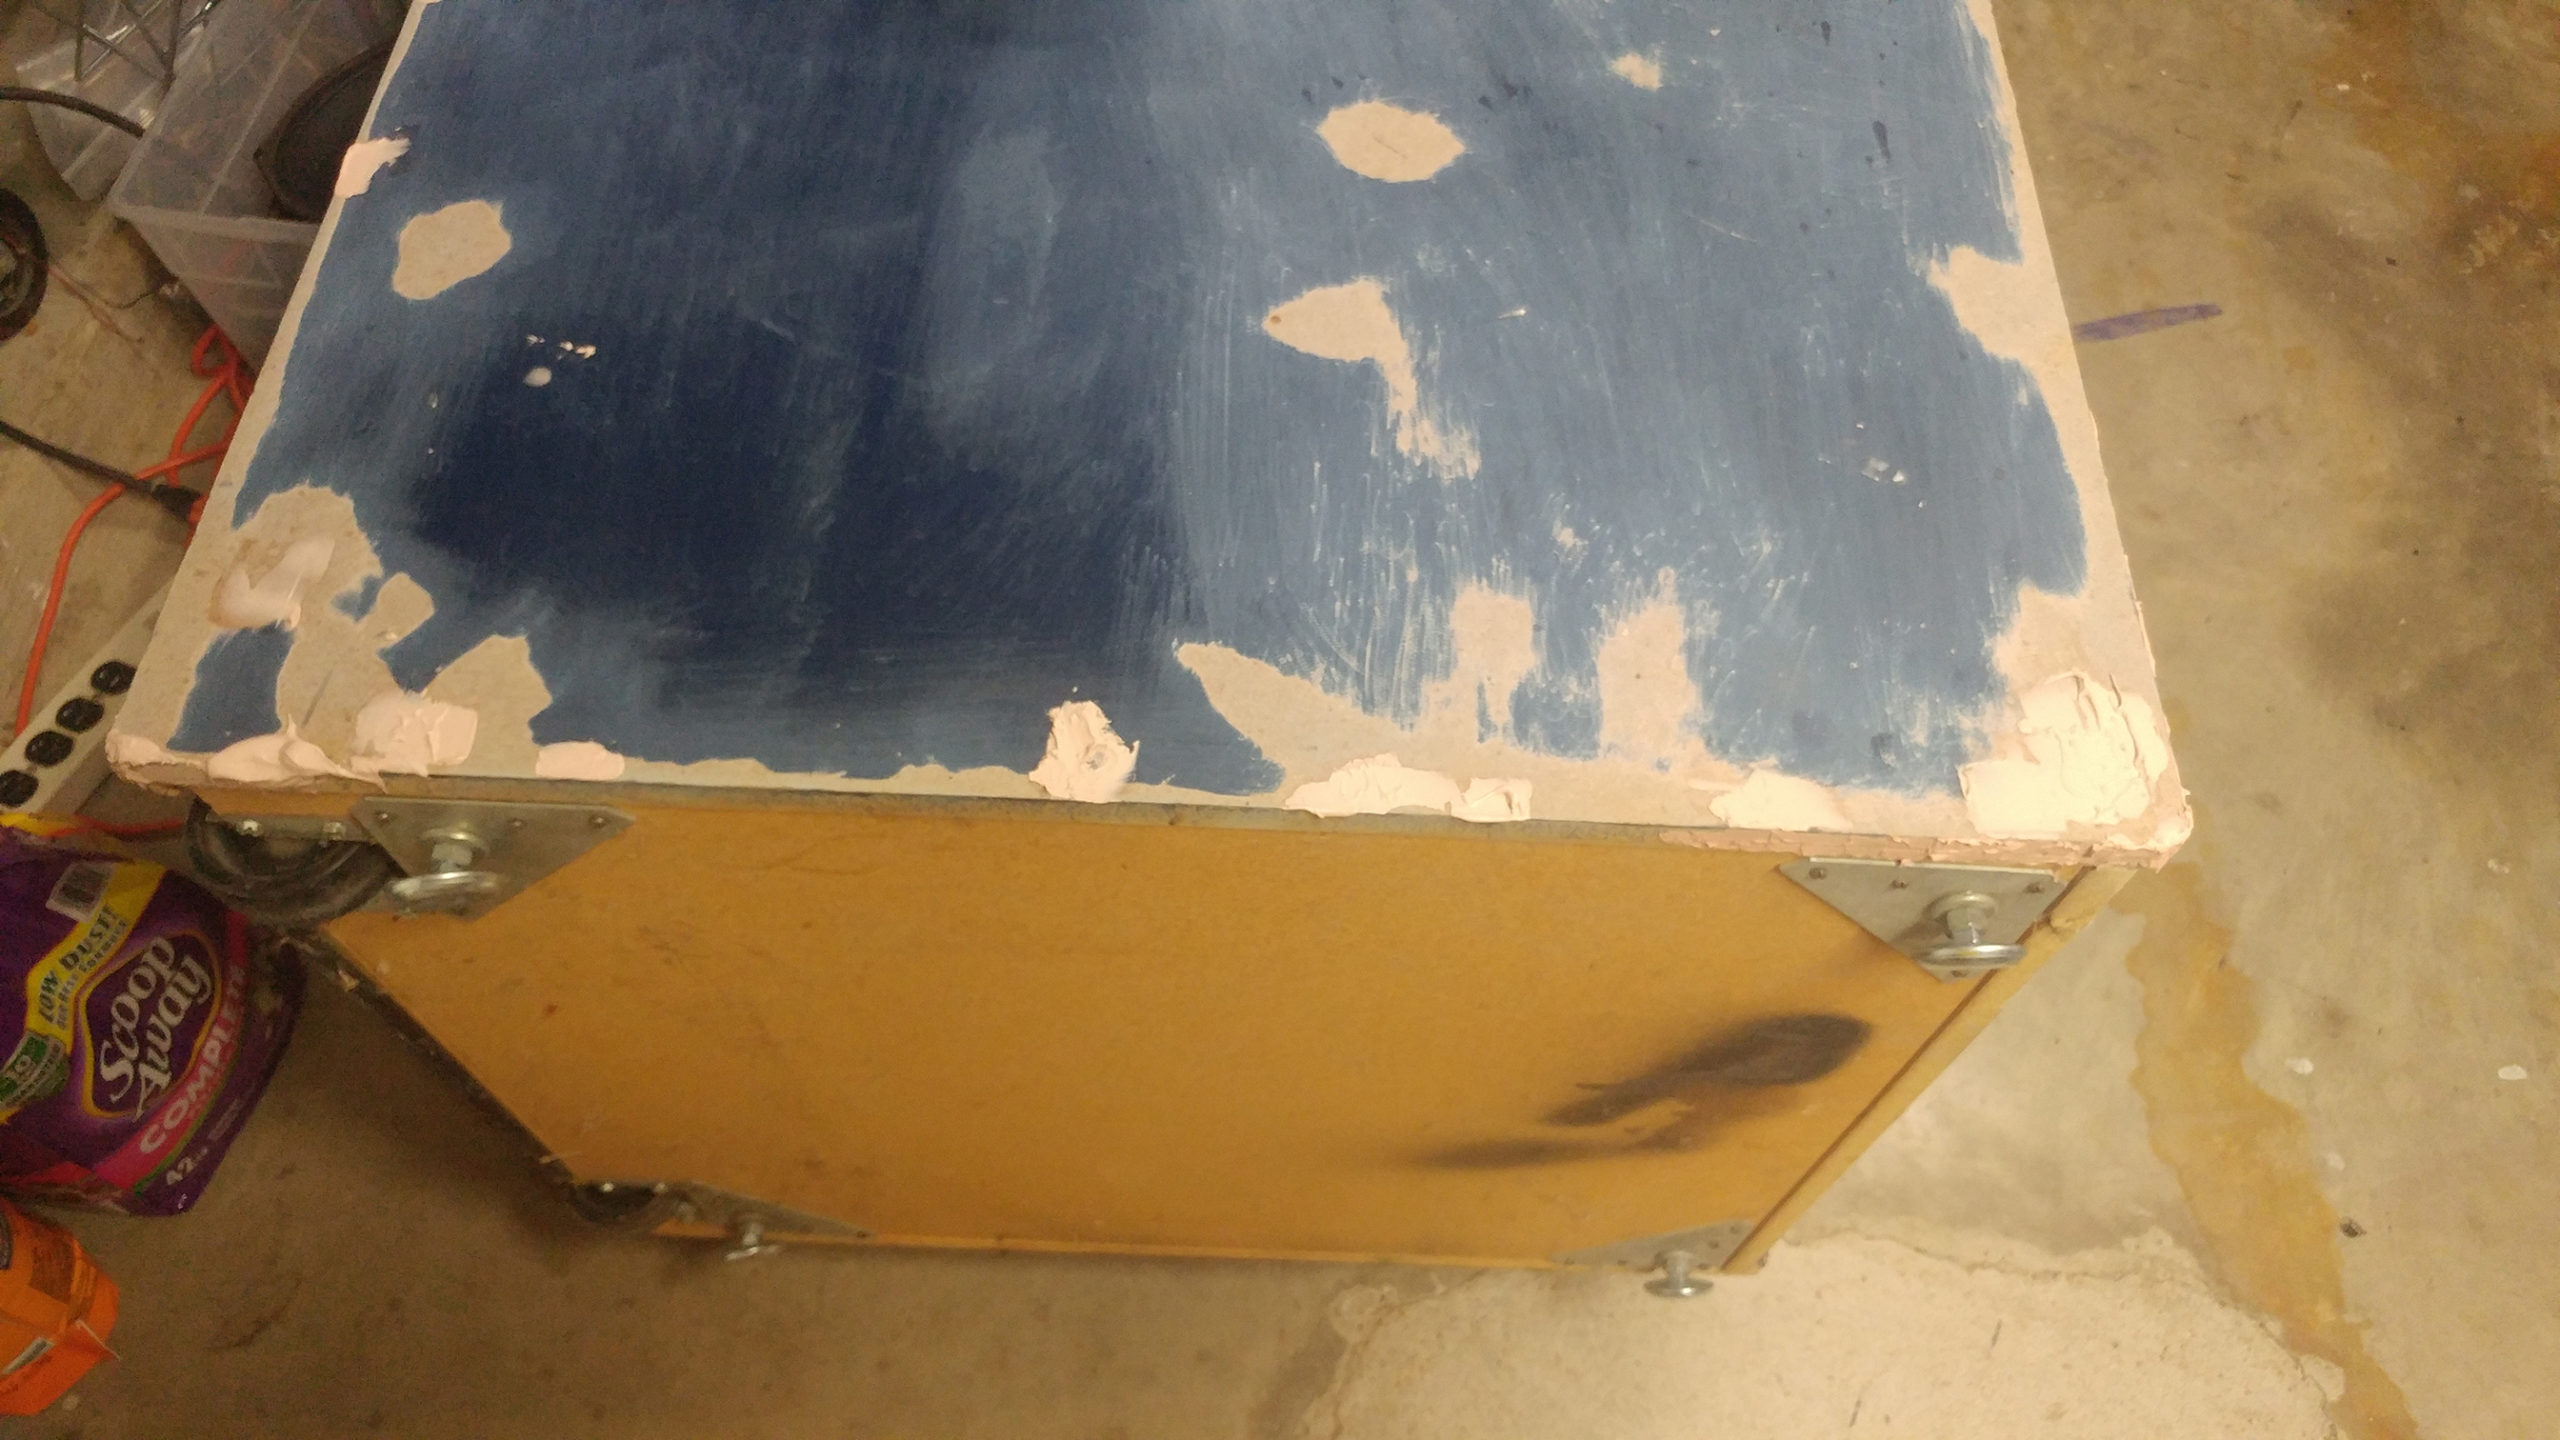
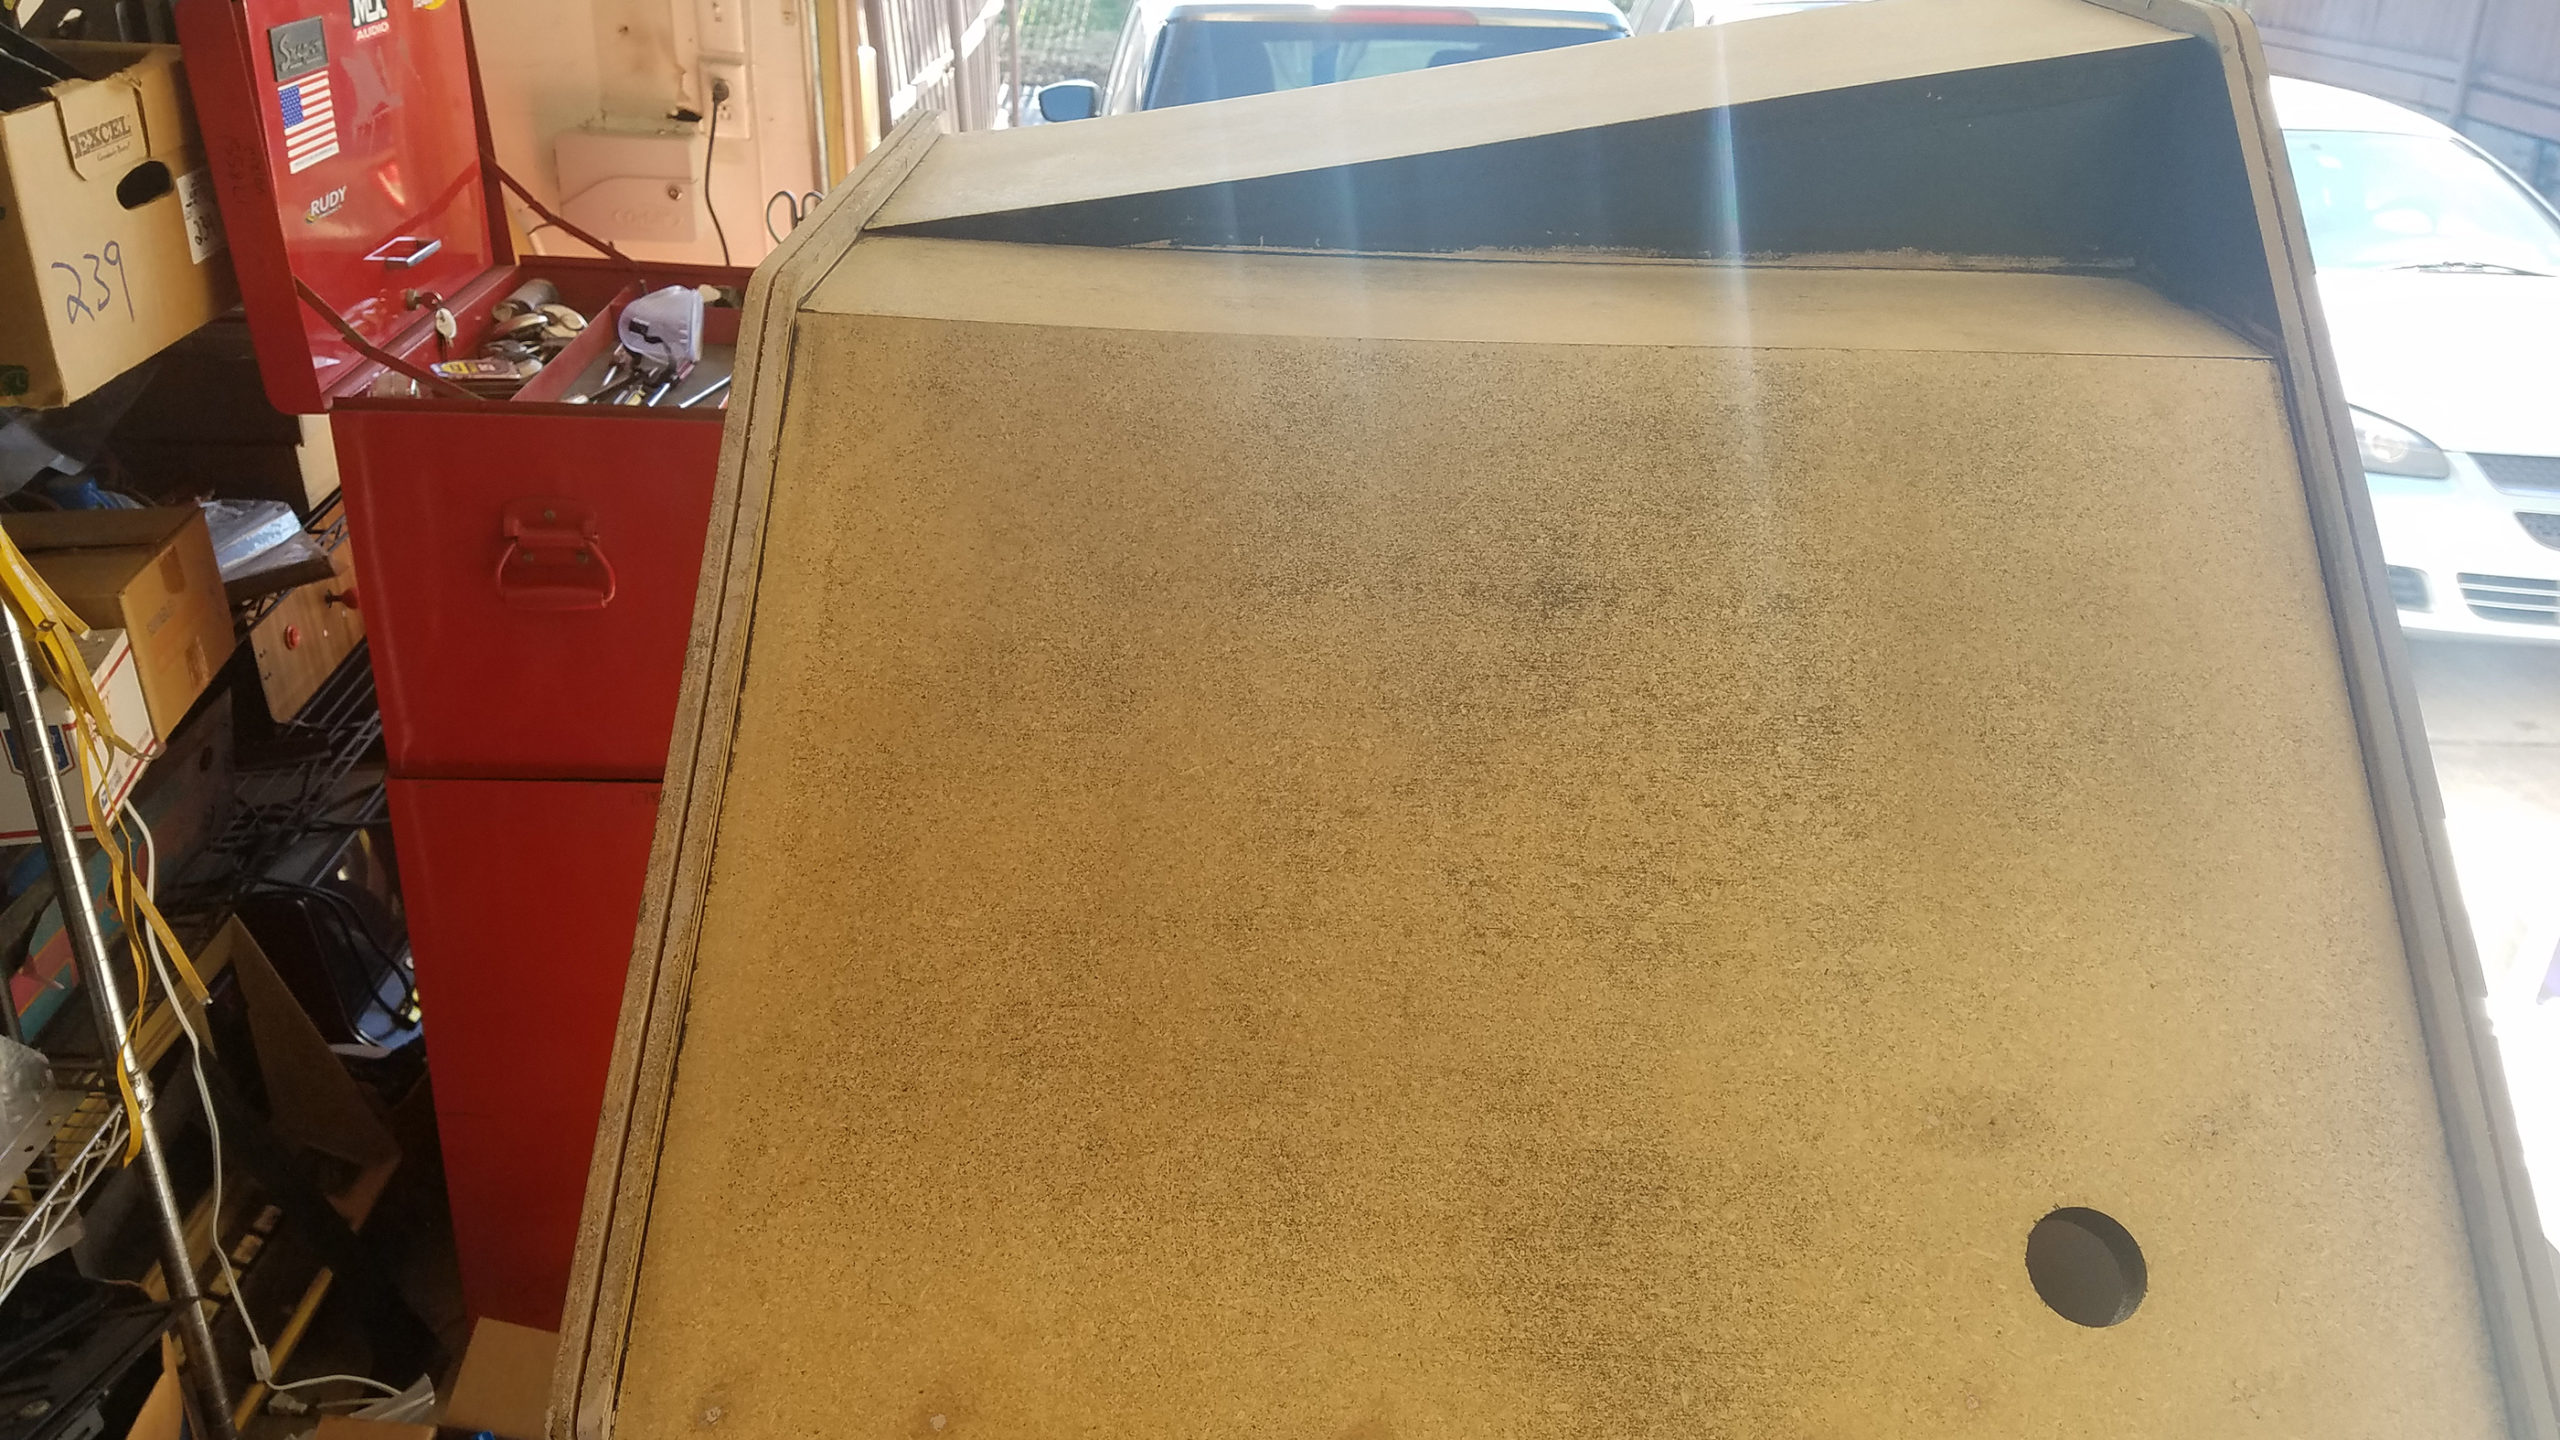
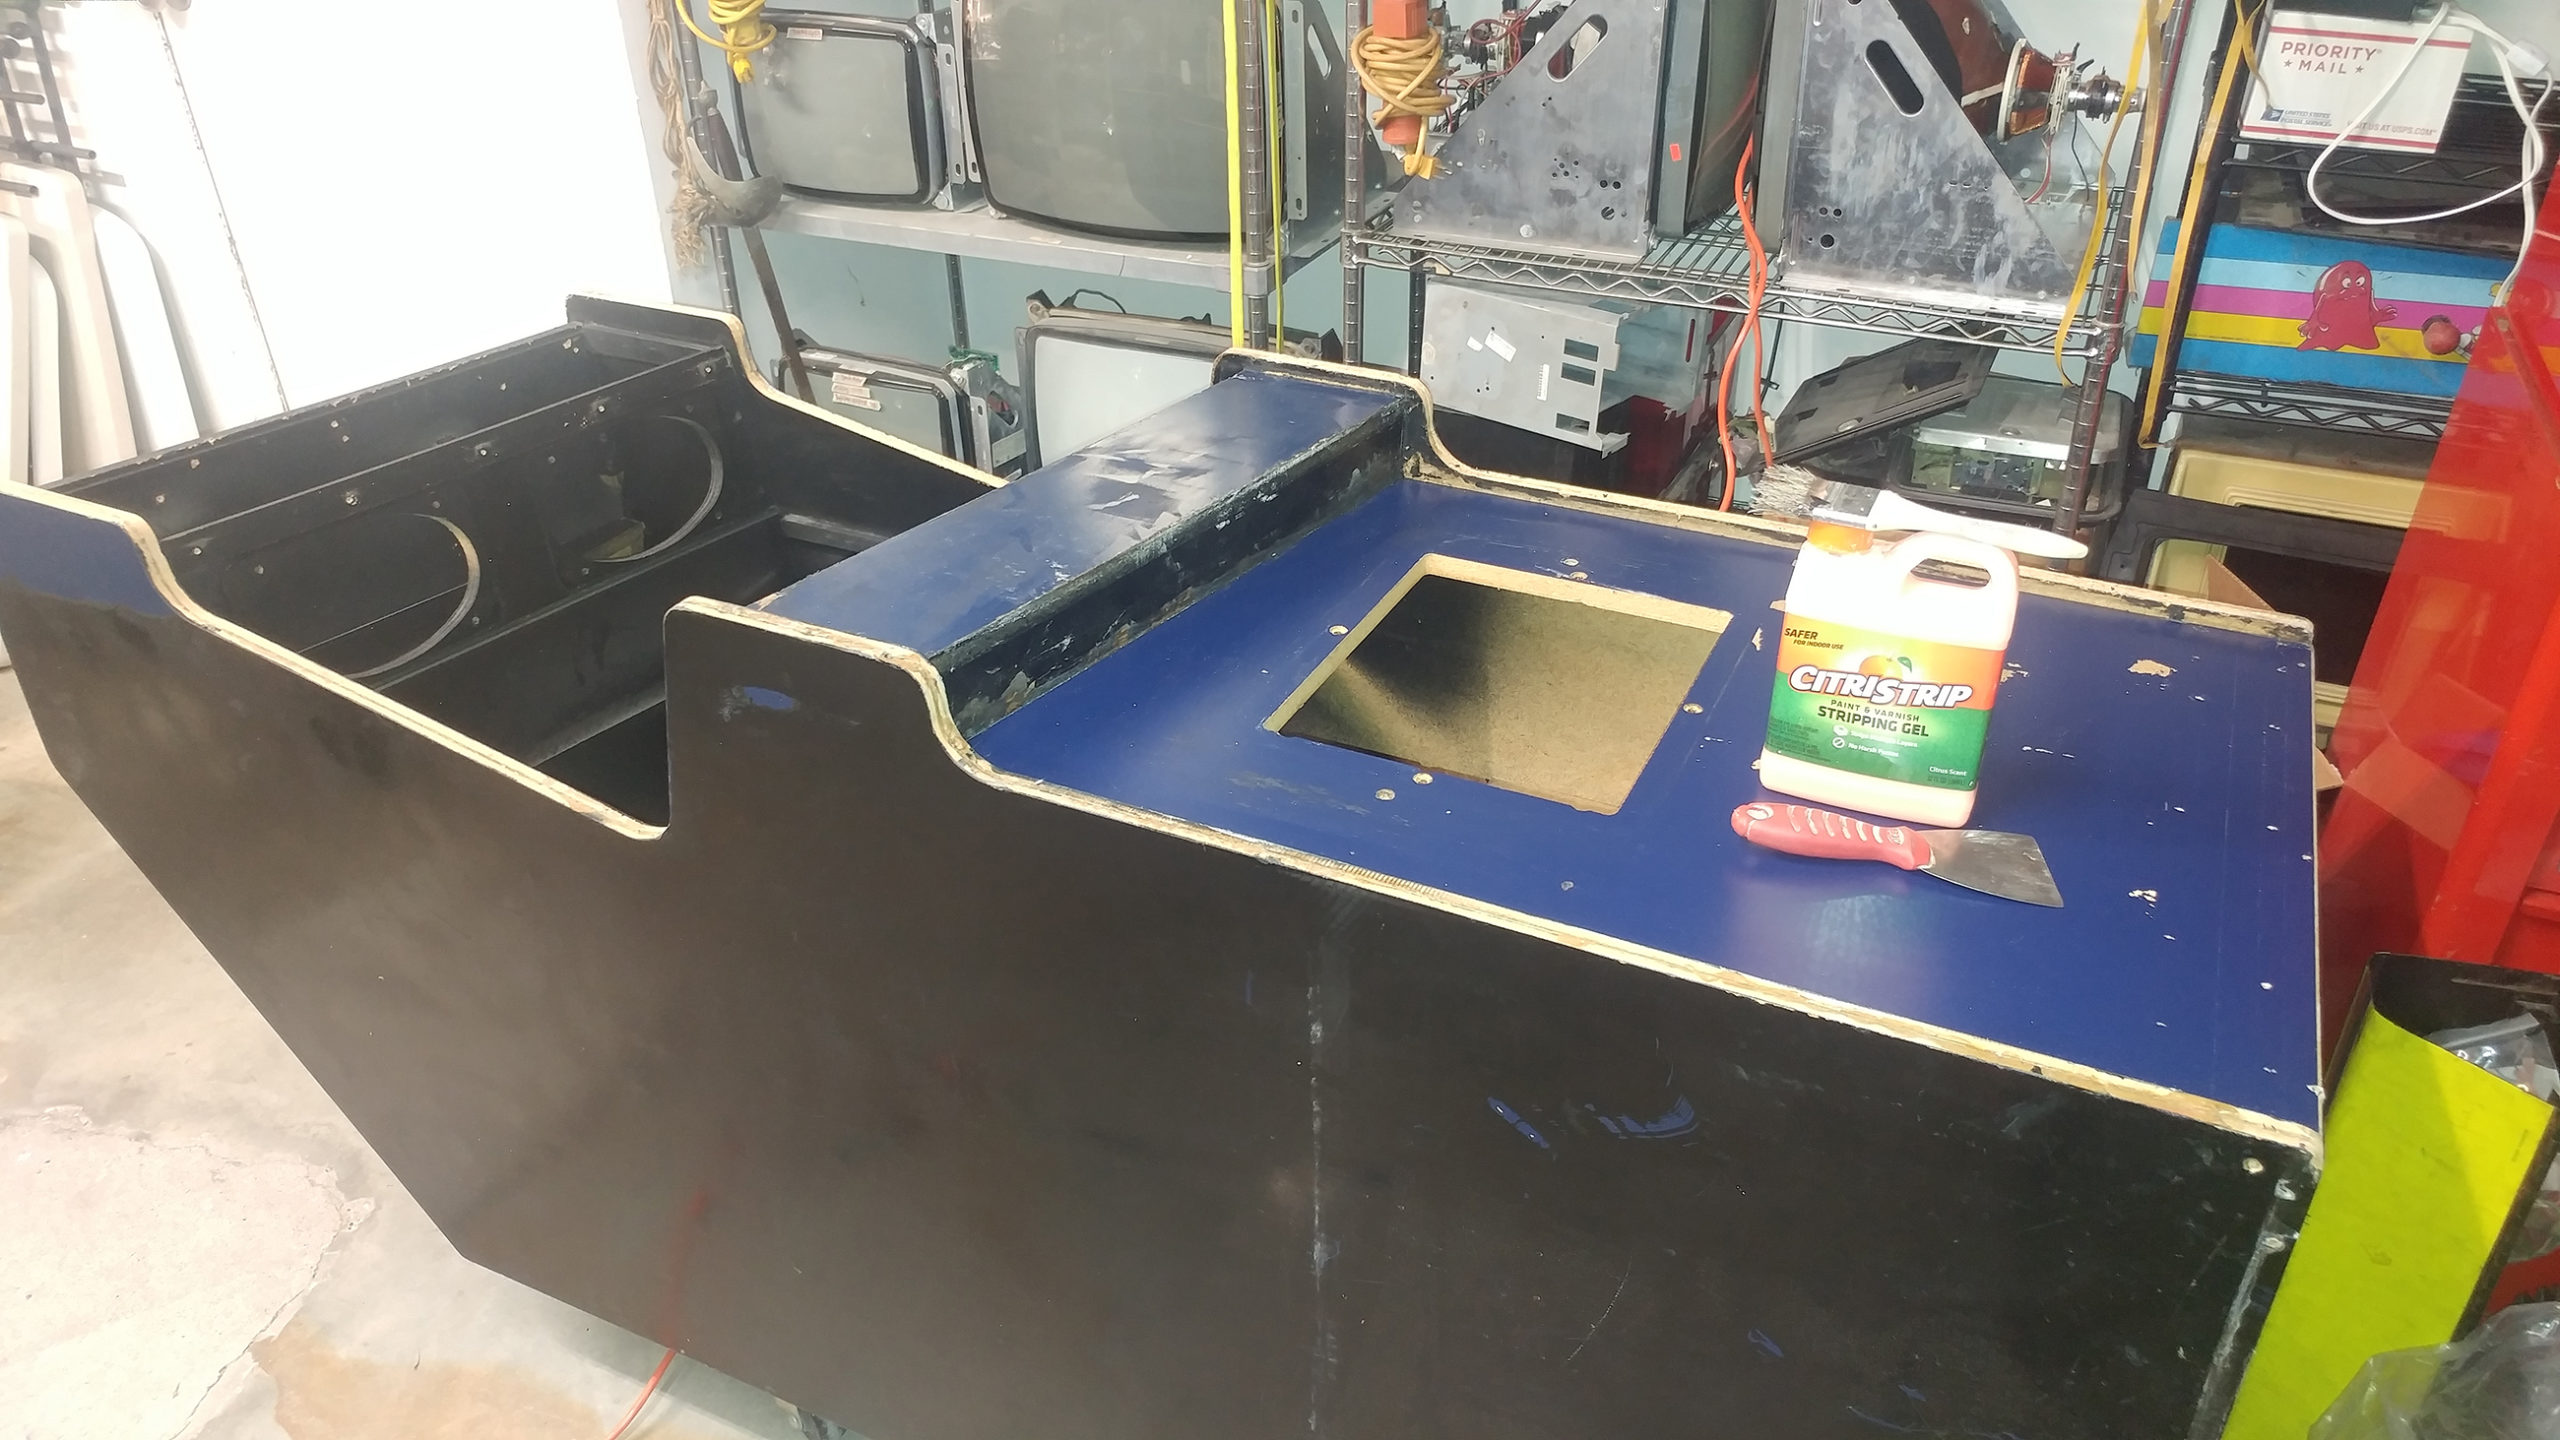
The metal of the control panel and wood front edge were in great condition.  All of the dips and depressions from the factory were filled with bondo so the control panel overlay won’t sag and crack in those areas later on.  After the primer and 2 coats of paint cured, the new cpo was installed which look amazing!

The joysticks were a rusted mess.  The joystick shafts had rusted solid to the rubber grommets so the old grommets had to be cut off.  All parts of the joysticks were cleaned and new grommets installed.  The control panel wiring harness also had to be repaired as a lot of wiring was pulled loose and the wire tabs on the leaf switches were bent up.  It now looks factory new!  The original bezel was installed along with the new artwork under the control panel.

Posted on Leave a comment

Applying The Finish To Wacko

After all the hours and hours of body, work had been finished, we cut a t-molding slot on both sides which turned out perfect.  The first coat of oil-based primer was applied which showed us any areas on the cabinet that needed a little more work.  Once those areas were addressed, the primer was sanded down, and the second coat was applied.  After drying, that last layer was sanded down as smooth as glass.

Three coats of black were sprayed on the top, back, back door, viewing area, and the side wings on the bottom with sanding in between.

The blue on the cabinet was colored matched to the blue on the side art.  Four coats of dark blue were applied with a light sanding.  Paint going back on the cabinet after all the hours in repairing and prepping the cabinet is so satisfying!

While the paint was drying, the control panel brackets were stripped, smoothed, painted, and installed.  Every nut, bolt, screw, and bracket will have been cleaned, polished, and painted by the time Wacko is finished.

Posted on Leave a comment

Adding strength to Wacko

Once everything was stripped away we were really able to see all the dents and holes that were being hidden by the thick paint. The top of the cabinet also showed signs of water damage which threatened the integrity of the wood. The edges of the cabinet where the t-molding is was badly damaged from moisture, wear, and some terrible corrections. You can see in the pictures in our first post, Wacky Cabinet, the t-molding was “fixed” by adding several long drywall screws. This just damaged the cabinet even more. It was truly screwed up!

It took nearly half a can of Bondo, more than a dozen sheets of sandpaper, and too many working hours (if we counted them, it would just take the fun out of it) but we finally got all the holes filled and the edges rebuilt. For the top, the water damage wasn’t too bad so all that was needed was a good sanding and some wood hardener to give the wood back its strength. Pretty soon all the terrible things that happened to this game will be wiped away and we’ll have a nice clean surface.

Posted on Leave a comment

Stripping Down Wacko

Now that we know what we have and have pulled all the major electronics out, we can strip out the rest of the wiring harness and remove anything that isn’t part of the cabinet. Everything has to be pulled to prepare for the next process, including the coin door, speakers, t-molding, marquee light, etc. The cabinet will have to be flipped and turned throughout the process and exposed to chemicals and sawdust that could damage any of these components.

When the cabinet was converted it was painted with an exiting shade of black. The paint that was used was an extremely thick water-based paint that covered a lot of damage to the wood.  It took a few weeks to remove the paint but we were able to get it down to the point where we could repair major damage such as dents and holes. Sometimes original art is left under the paint of converted cabinets but, unfortunately, not in this case.

Posted on Leave a comment

Testing and Cleaning the Wacko

Monitor with Test Pattern

As you saw in the previous post, this crooked cabby is a mess. To see what we can use, we first have to clean it all up and test a few things. Cleaning not only helps to allow us to see the components and evaluate for damage easier but it also allows components to breath reducing heat which drastically reduces hardware fatigue and prevents fires. To see what we had, we tested the power and monitor with the existing harness and a test pattern generator and found that we had a working monitor, so we were already ahead.

Now that we knew we had power and a working monitor we started clean-up. We started off cleaning up the power brick in the bottom which contains the isolation transformer for the monitor, the main fuses, and several other components used for power production. We then cleaned the monitor with some degreasing cleaner and a water hose. Then we replaced the more than 30-year-old capacitors on the monitor chassis. The cabinet needs a lot of work, so it will be a while before everything gets back in the cabinet securely.

Posted on Leave a comment

Wacky Cabinet

Welcome to a new build!

Wacko was produced in 1983 by Midway and features a kooky little space alien in his flying saucer fighting off a variety of creatures and their eggs. Its unusual slanted cabinet makes this machine really stand out. The controls feature two joysticks for firing direction for either right or left-handed play and a trackball in the center for movement.

This particular machine was unfortunately converted to host Mario 64 for many years. We found a number stamped in on the cabinet 892 telling us it was one of the first 1000 made. The entire cabinet and what components are there is a filthy mess. The harness has been chopped severely to accommodate the conversion and the monitor has a mild amount of Mario burn-in. There are a lot of poor choices in body repair such as screws to hold in the t-molding. The top has some moderate water damage, it has been painted black and is missing the original control panel and board set. Let’s see if we can’t bring this alien back home where he belongs.